 NexBrowser指纹浏览器-官方博客Blog
Building a no-code workflow that actually runs follows a basically fixed order: first confirm the environment is logged in and the proxy works; then use recording or drag-and-drop to build the main flow; then stabilize selectors and waits; next debug step by step in a single environment; and only at the end bind it to groups for batch distribution. Reversing the order has a direct cost—skip the first two steps and go straight to batch runs, and when dozens of windows error out together, network issues, expired logins, and missing elements will all mix together, leaving you unable to tell what actually broke.
Step 1: First make the environment itself run
RPA only clicks the mouse for you; it doesn't fix the network or handle logins. Before starting, confirm two things:
The environment is logged in. The antidetect browser gives each account its own cookies, local storage, and proxy channel. Keeping the login state in the environment is far more stable than having the workflow log in again each time and handle two-factor verification again—multi-factor verification is one of the easiest places for a no-code workflow to get stuck, so avoid it if you can.
The bound proxy is currently available. A passed one-click check only means it connects. You also need to open an IP-check page to verify the exit location, time zone, and language match the environment settings. If it's down or doesn't match, fix the network before discussing the workflow. You can follow the order in How to troubleshoot a proxy that fails the one-click check after import and How to confirm exit location and time zone/language consistency after binding a proxy.
If the goal is batch running, add one more step beforehand: save a verified environment as a template and duplicate it, so all environments share the same baseline settings. Otherwise the workflow may pass in environment A and crash in environment B—and the cause is often not the workflow itself. For details, see How to save a browser environment as a template and batch duplicate it.
Step 2: Record, drag-and-drop, or use a template
Antidetect browsers with built-in RPA generally offer three building paths, each with its own use case:
- Action recorder: Perform the page operations once manually, and it automatically generates a sequence of steps. Suitable for linear workflows, and for when you're not yet sure which nodes to use—record a version first to see what it breaks into.
- Visual drag-and-drop wiring: Manually place nodes and connect the flow. When the logic has conditional branches or loops, this is the only way.
- Template library fine-tuning: Load ready-made scenarios like social browsing, e-commerce store checks, or form submission, then adjust details for your business. Easiest when the scenario is standard.
In practice, the smoothest combination is: record the main flow first, then return to the canvas to add waits, add branches, and change selectors. NexBrowser's no-code workflow building and batch execution are on the RPA feature page. Node names differ across clients, so refer to the node list in your own client when starting.
Step 3: What nodes make up the main flow
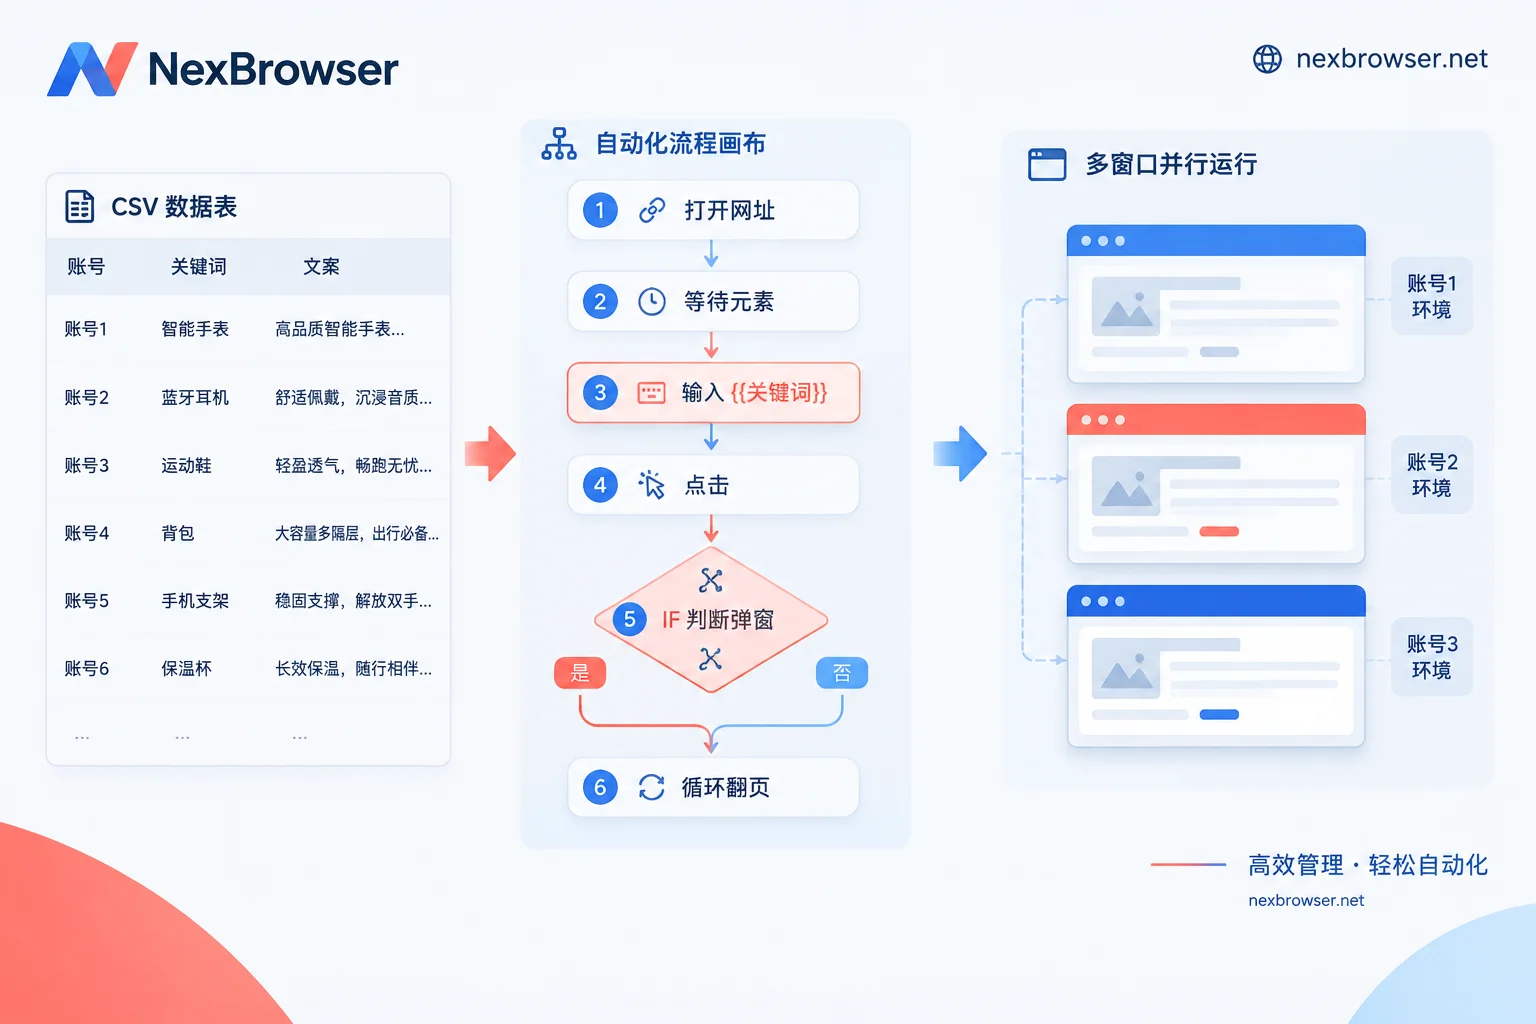
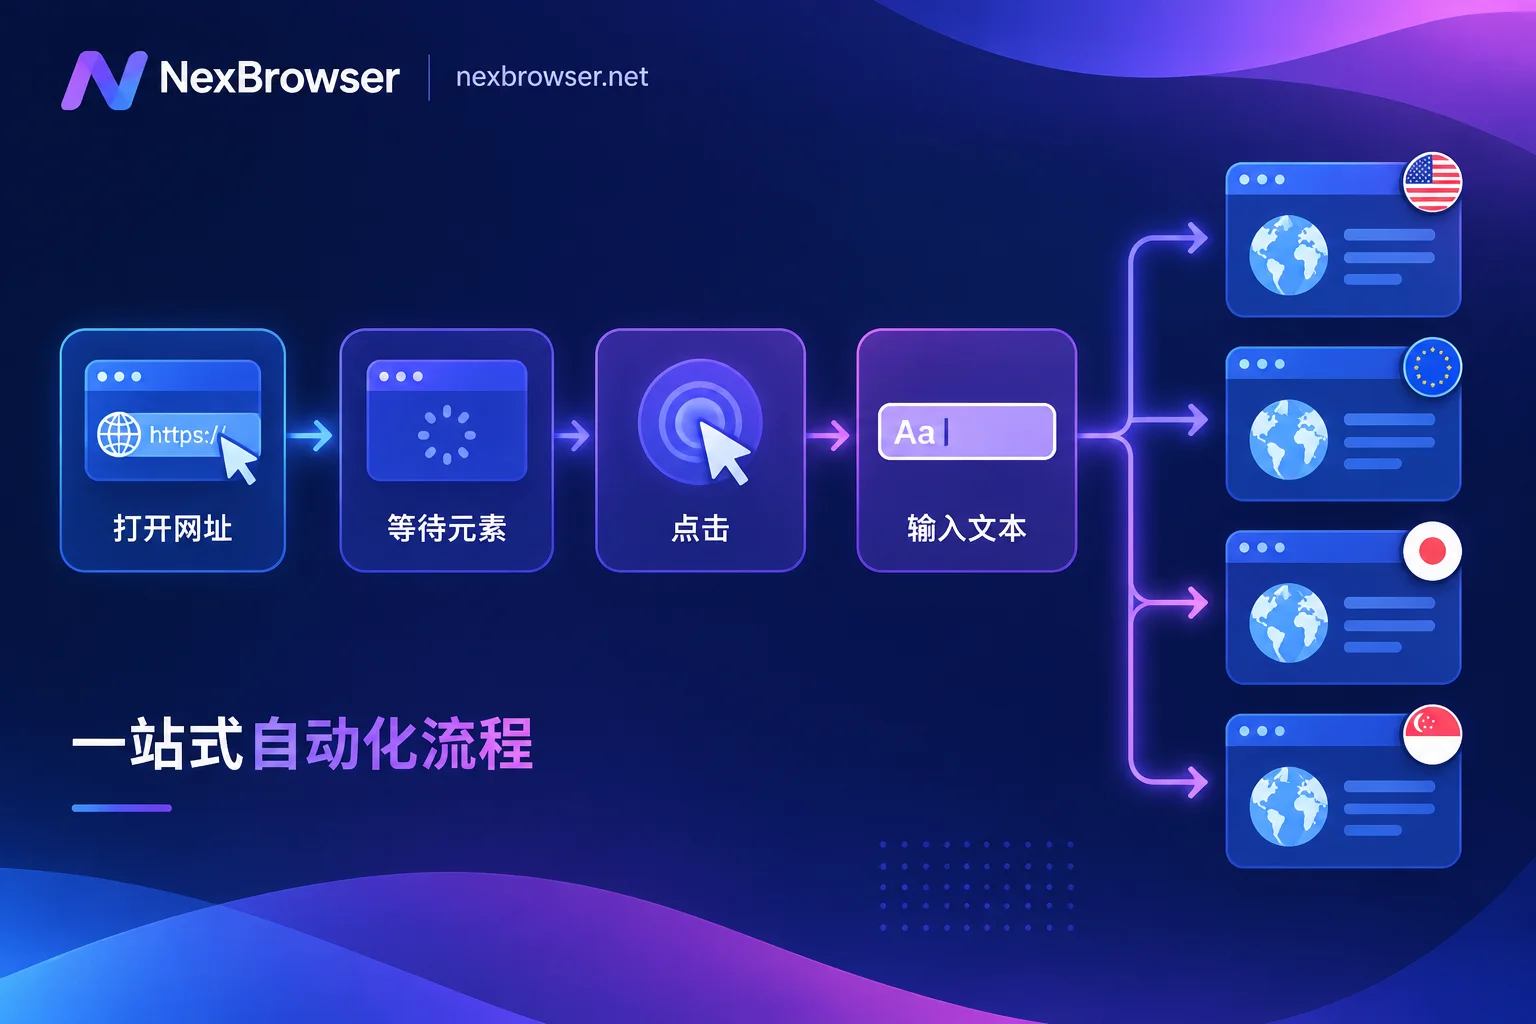
Most web workflows are combinations of these atomic actions: create / switch / close tab, navigate to a specified URL, wait for an element to appear, click, input text, page scroll, dropdown selection, and execute a small piece of custom JS. First use these to fully restate "how a human does it"; don't think about optimization at the beginning.
Step 4: Selectors and waits—where workflows break most easily
Whether a no-code node can execute depends on whether it can find the element. Positioning is usually done with CSS selectors or XPath, and which attribute you choose makes a big difference:
- Prefer stable attributes like
id,name,data-*, or use text-based relative positioning. - Avoid dynamic hash classes generated by frontend frameworks (the kind with a string of random characters); they all fail after one platform release.
- Add "wait for element to appear" before every key interaction node, and give a reasonable timeout threshold. Clicking before the page DOM has finished rendering is the most common cause of node interruption.
- Fixed-second waits can be a supplement, but don't use them as the main method—they fail as soon as the network slows down.
Step 5: Variables and branches let one workflow serve multiple accounts
In multi-account scenarios, each environment has different inputs; this relies on variables rather than duplicating the workflow. Common practice is to import an external data table (Excel / CSV) or use environment variables to inject account names, keywords, and copy into input nodes as dynamic variables; then use IF conditional branches to handle pop-ups and error prompts, and loop nodes for pagination or list traversal.
One prerequisite to confirm first: the data source types supported by each client vary considerably—some only accept CSV, while others can connect to online spreadsheets or Webhooks. Before designing a workflow that depends on a certain data source, check the supported range in your own client.
Step 6: Rhythm control and the boundary of human takeover
Completely uniform clicks and inputs are mechanical characteristics. Inserting random delays between clicks, inputs, and page turns (for example, in the 2–5 second range) and enabling human-like typing speed and smooth scrolling can make the interaction rhythm closer to manual operation. But to be clear: such settings only reduce mechanical characteristics; they do not constitute any guarantee of not being associated or not triggering risk control. Platform judgment dimensions go far beyond behavioral rhythm.
There is also a category of situations that no-code workflows cannot solve—target sites with strong human verification like sliders or Turnstile. The correct handling is to have the workflow stop here, take a screenshot, and hand it over to a human for confirmation, rather than trying to bypass verification within the workflow. Writing "when it must be handed back to a human" clearly into the workflow is cheaper than cleaning up afterwards.
Step 7: Debug thoroughly in a single environment before publishing
Before distributing the workflow, you must run it step by step in a test environment. Useful features include: single-step execution, breakpoint pause, automatic screenshot on failure, and failure retry count. Focus on three things—whether each node's element positioning is accurate, whether variables render correctly into actual values, and whether the workflow follows expectations when exception branches are triggered. Time saved here will be repaid double during the batch phase.
Step 8: Bind groups for batch distribution
After verification passes, bind the workflow to a specified environment group, or directly select target windows. There are generally two execution modes: multi-window concurrency (fast, but consumes local resources) and queued serial (slow, but with clear logs and easy error locating). For the first batch, run 3–5 environments first, confirm the logs are normal, then increase the number.
During the run, each window still uses its own independent fingerprint and proxy channel without crossing lines; view results and errors centrally in the run logs rather than checking window by window.
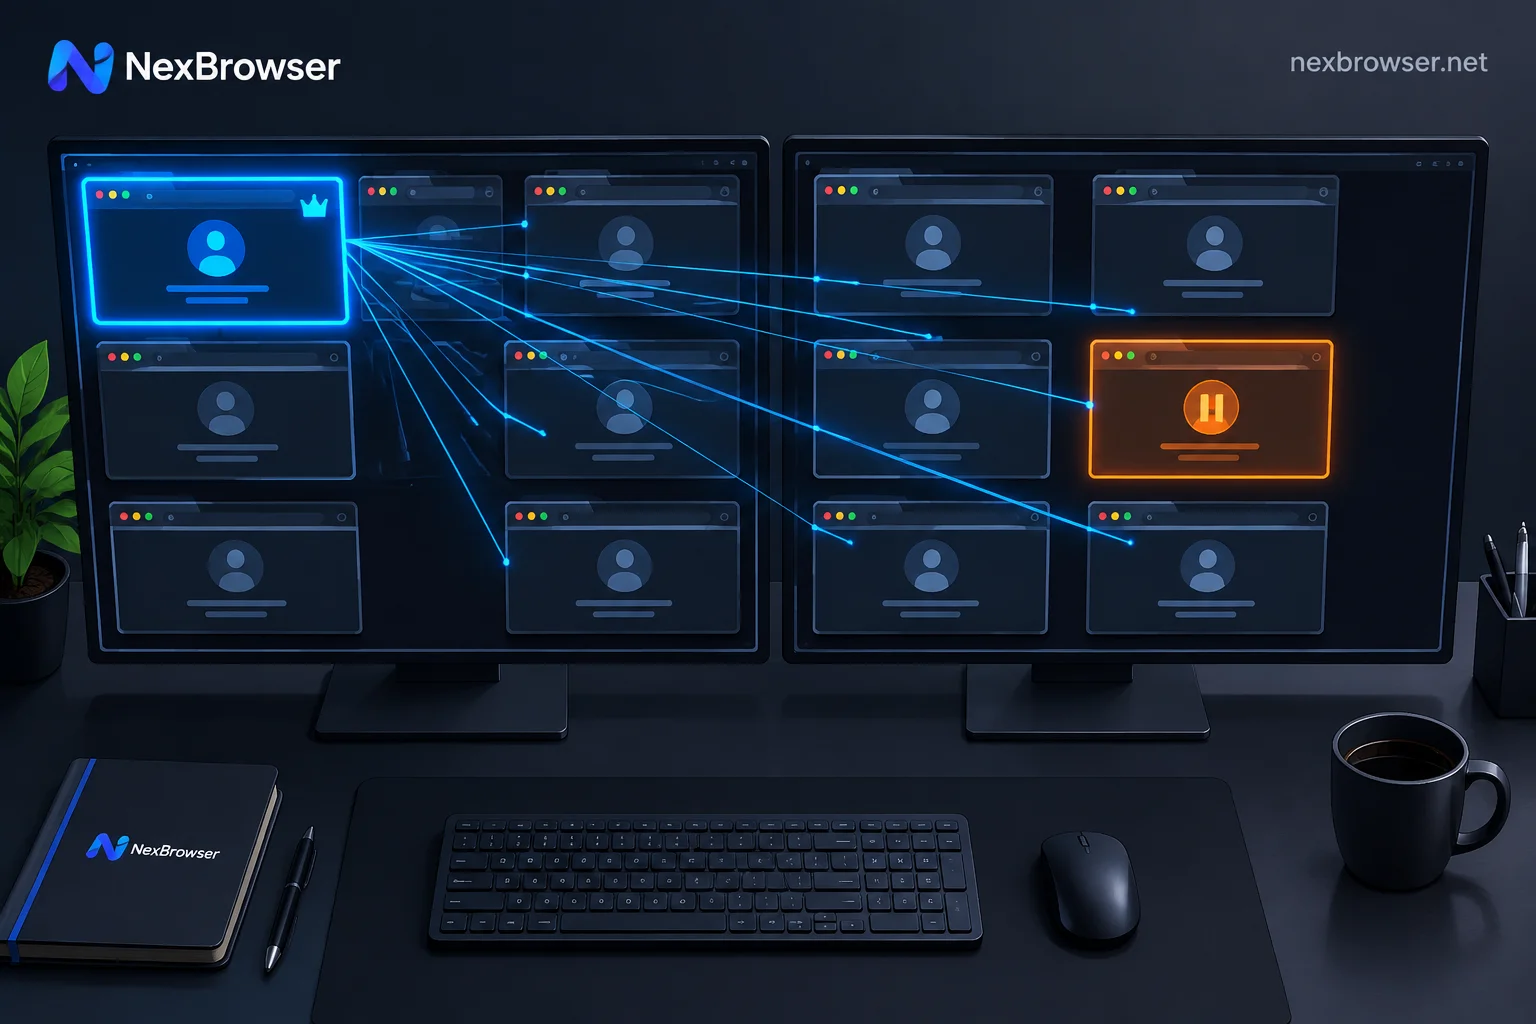
Also distinguish this: RPA lets each environment run its own workflow, while window sync broadcasts one real operation of yours to multiple windows. They solve different problems. For preventing misoperations in sync operations, see How to operate multiple accounts at once with window sync without misoperations.
When to switch to a script
These signals indicate no-code is no longer worthwhile: conditional nesting exceeds two or three levels, you need to read API return values to make decisions, you need to reconcile with your own business system, or the same logic must be reused across multiple platforms.
At that point, handing the browser to code is easier. NexBrowser's Local API is free with unlimited calls; Selenium, Puppeteer, Playwright, browser-use, and Playwright MCP can all take over environments already configured with fingerprints and proxies—environment isolation remains the client's responsibility, and you only write business logic. For connection examples, see How Puppeteer connects to an antidetect browser.
No-code and scripts don't have to be either/or: a common division is to use RPA for high-frequency, structurally stable repetitive actions, and scripts for parts that require judgment and reconciliation.
Do the environment and proxy verification in Step 1 solidly, and troubleshooting every later step will be much faster—this is the only part of the entire workflow that cannot be skipped.


Comments(0)