 NexBrowser指纹浏览器-官方博客Blog
What the template saves and what is generated during derivation
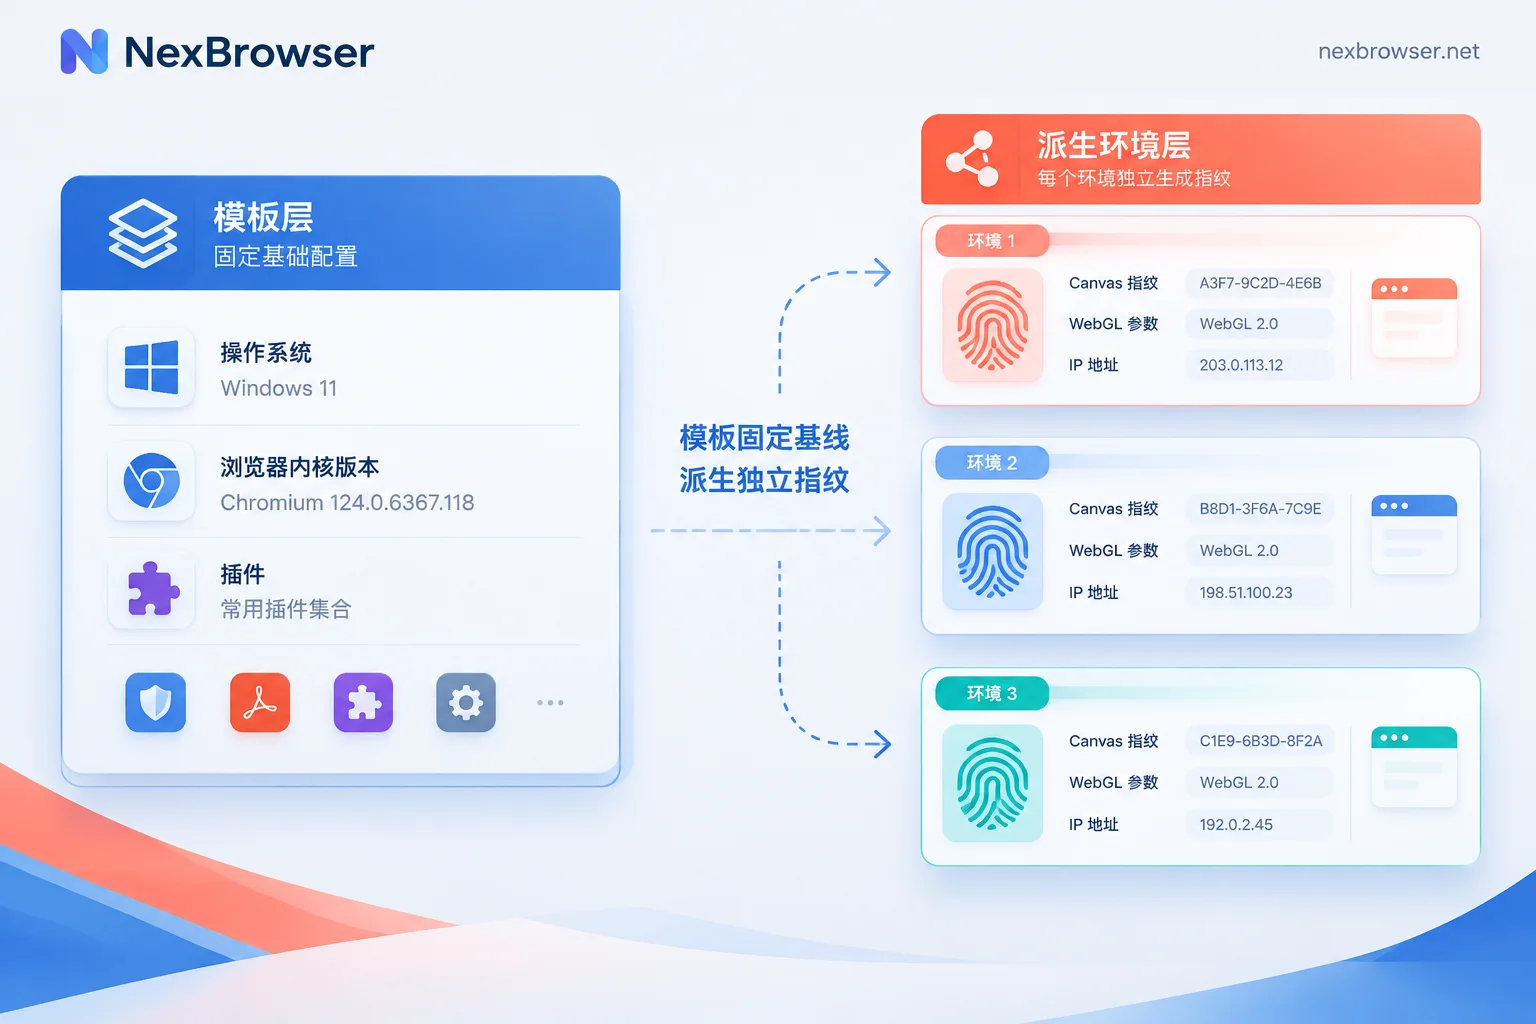
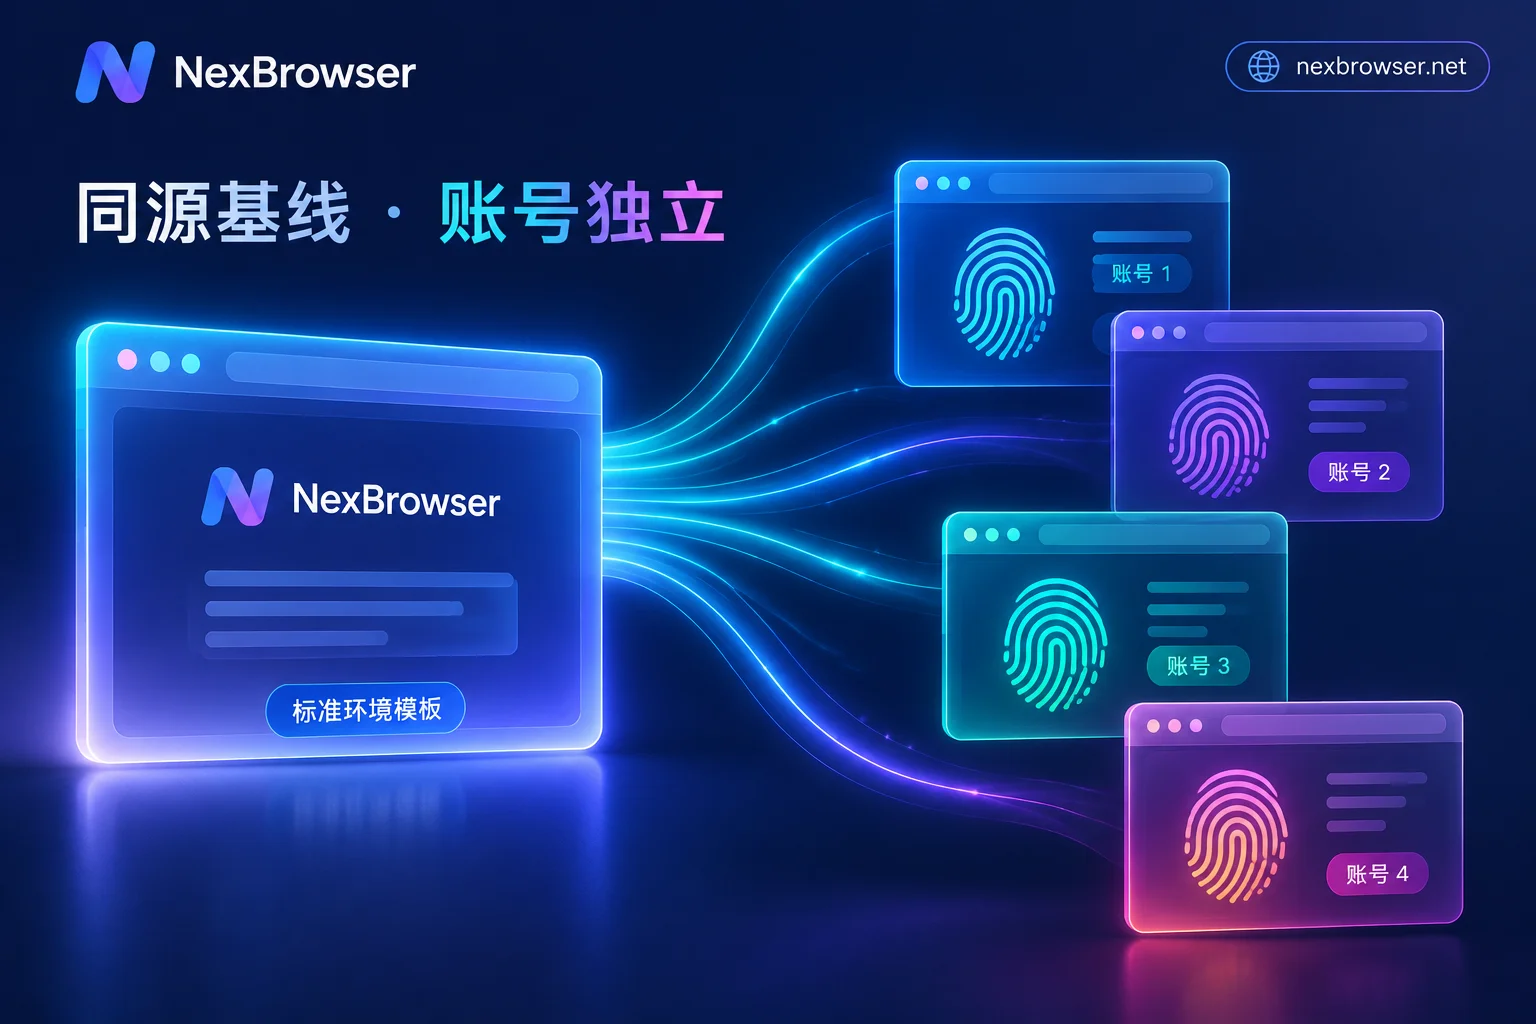
The core of saving browser environments as templates and batch replicating them is unified baseline, independent fingerprints: the template only fixes the business baseline such as the operating system platform, browser kernel version, pre-installed extensions, default startup page, and assigned group, while each derived new environment must automatically generate a brand-new and consistent hardware fingerprint (Canvas, WebGL, audio, font hash, etc.) upon creation, and be assigned an independent proxy IP.
What not to do: directly clone an existing environment. A full clone will also copy the underlying cache, Local Storage, logged-in cookies, and hardcoded features, causing all derived environments to be identified as the same source device on the platform side. Standardized template replication only extracts general rules, and each new environment's fingerprint parameters must be generated independently and randomly.
Three batch creation methods
1. Quick client-side derivation
After saving a tuned base environment as a template, use the batch creation wizard to select that template as the baseline, set a unified naming prefix (e.g., Shop_US_ with auto-incrementing numbers) and assigned group, specify the number to generate, and the system generates an independent environment pool with one click. Suitable for scenarios with unified configuration rules and large quantities.
In NexBrowser environment isolation and grouping, you can directly select an existing environment as a baseline template in the workspace; during batch derivation, the system automatically assigns an independent fingerprint to each new environment and inherits grouping and proxy rules.
2. Excel/TXT batch import
Suitable for scenarios where different proxies and account parameters need to be specified simultaneously. Download the standard Excel or TXT import template provided by the platform and fill in row by row:
- Environment name
- Group label
- Proxy protocol (HTTP/HTTPS/SOCKS5)
- Proxy IP, port, authentication username and password
- Initial cookies (if pre-login is required)
After uploading, the system parses in batch according to the template rules and initializes independent environments. This method can bind different proxy IPs to different environments at once, saving the time of manual configuration one by one.
3. Local API scripted creation
Developers can use the Local API provided by the browser to write scripts that loop through creation interfaces based on a preset configuration JSON template, achieving fully automated batch environment creation and proxy binding. Supports Playwright, Puppeteer, Selenium, and other takeover frameworks.
NexBrowser's Local API is free with unlimited calls. You can loop through environment configuration parameters in the script, and after batch creation, directly take over each environment via WebSocket endpoints for automated operations.
Essential verification after batch creation
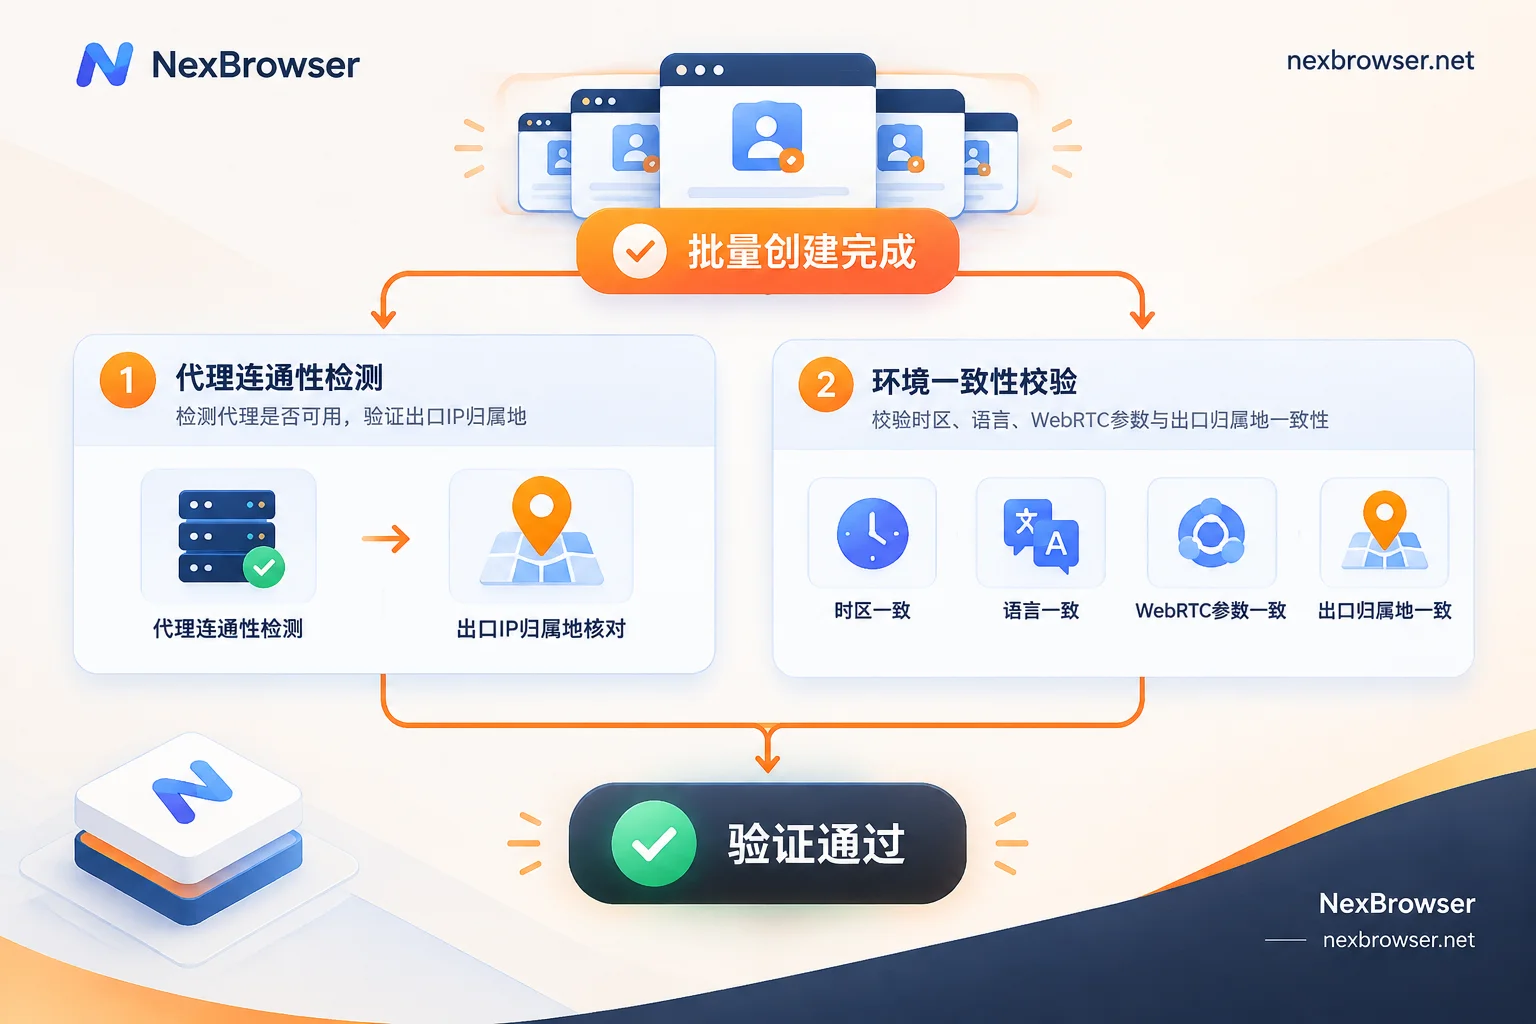
After batch generation, you cannot directly log into business accounts; you must first perform two layers of checks:
Proxy connectivity check
Run a batch proxy check to confirm that each environment's outbound IP is reachable and the geolocation is correct. If the check fails, troubleshoot protocol, port, and authentication parameters one by one following the order in How to troubleshoot when proxy import and one-click detection fail.
In NexBrowser, you can batch import proxies and perform one-click detection; the system will display each environment's outbound IP geolocation and connectivity status.
Fingerprint and proxy consistency verification
Confirm that each environment's outbound IP geolocation fully matches the automatically assigned timezone, language, WebRTC, and DNS parameters. If the outbound IP is in the US but the timezone shows Asia, the platform side will immediately flag it as a suspicious device. For detailed verification steps, see How to confirm outbound geolocation and timezone/language consistency after binding a proxy.
When to use which method
- Completely consistent configuration rules, only need independent fingerprints: use quick client-side derivation, which is the fastest.
- Each environment bound to a different proxy or pre-filled with different accounts: use Excel batch import to assign differentiated parameters at once.
- Need integration with external systems or automated workflows: use Local API script creation, which can be integrated into CI/CD or scheduled tasks.
If you manage dozens or more accounts on a single computer, template-based batch creation can compress environment initialization time from hours to minutes, but the prerequisite is that each derived environment's fingerprint parameters must be generated independently, proxies must be assigned independently with consistent geolocation; otherwise, batch creation will instead trigger batch association risk control.


Comments(0)