 NexBrowser指纹浏览器-官方博客Blog
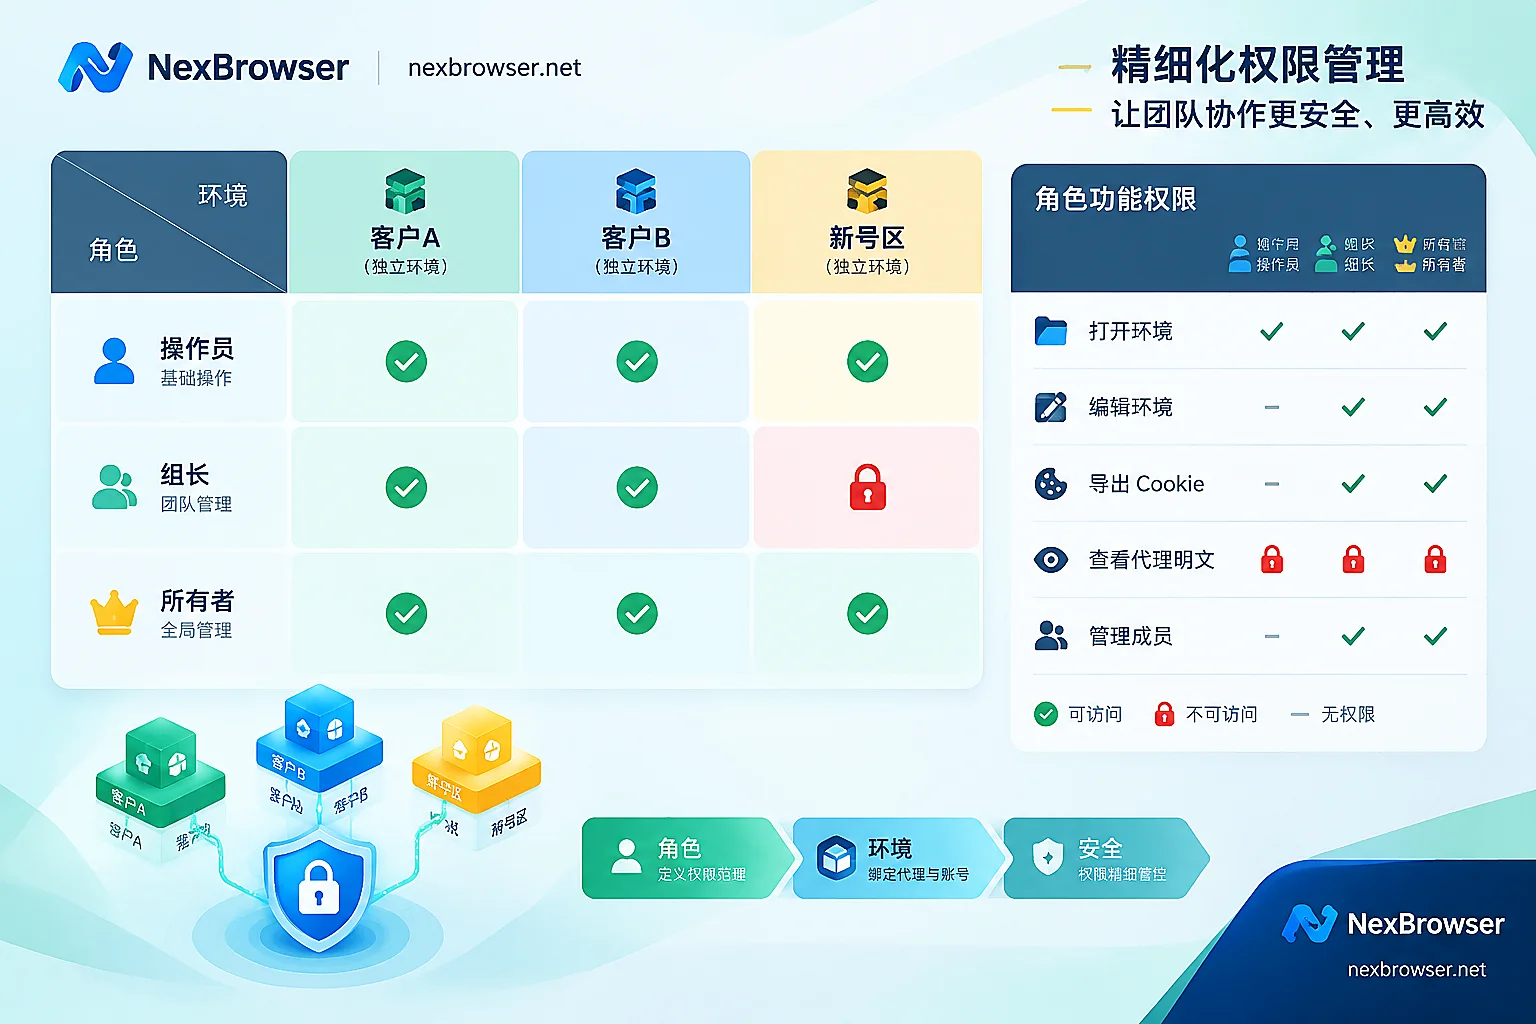
Assigning permissions to sub-accounts can be broken down into two questions: what this member can do in the software (functional permissions, usually set via roles or user groups), and which environments they can touch (data permissions, usually via environment groups or individual environment authorization).
The safer order is: first group the environments, then define the functional scope of a few roles, then add sub-accounts while associating both roles and groups, and finally log in as the sub-account to verify. Start with minimal permissions and add more if needed—this is much safer than opening everything and then revoking.
The principle of the two-layer model itself has been covered in How to Assign Environment Permissions in Team Antidetect Browser. This article focuses on implementation: what to enable for different positions, which items to leave off by default, and how to verify after assignment.
Step 1: Group Environments by "Who Will Take Over Later"
The basis for grouping is not the platform itself, but "these environments will be handed over to the same group of people later." There are three common approaches:
- By client or store: Most common for agencies and outsourcing teams. One client, one group; when staff changes, the whole group is transferred.
- By business line or platform: Suitable when one member is responsible for all accounts on a certain platform.
- By stage: Separate new accounts, active accounts, and accounts pending handover to prevent newcomers from accidentally touching main accounts.
One criterion: if a member should only see half of the environments in a group, the grouping is too coarse—split the group instead of supplementing with individual environment authorizations. A few individual authorizations are fine, but too many make it hard to audit who can see what later.
In NexBrowser, environments support grouping and template copying. Each environment's cookies, cache, local storage, and proxy are independent, so authorizing by group gives a complete set of independent work environments. For grouping operations, see Environment Isolation and Grouping.
Step 2: Define Roles by Position, Sensitive Items Off by Default
Different tools have different preset role names (super admin, admin, manager, operator, etc.) and different checkable permission items. Below is a starting point for role-based thinking; refer to your tool's actual permission items:
| Position | Visibility Scope | Suggested Enabled | Suggested Disabled |
|---|---|---|---|
| Daily operations, customer service | Own responsible group | Open and use environments | Create/delete environments, modify fingerprints and proxies, export cookies, view proxy plaintext, manage members |
| Team lead, manager | All groups responsible for this team | Based on above, create and edit environments, adjust group members | Delete environments, export, team-level settings |
| Outsourced, temporary members | Single group, or only a few environments if necessary | Open environments only | Everything else |
| Environment configurators | Assign by task | Create and edit environments, configure proxies | Member management; export only temporarily when needed |
| Owner | All | All | Keep only one or two people |
Several items deserve separate explanation for being off by default:
- Export cookies or export configuration: With the export file, login states can be reproduced outside the team, and assets escape control. Daily positions don't need it.
- View proxy plaintext: Once proxy credentials are seen, that exit can be used outside the team. When members use environments, the proxy is already bound; they don't need to touch credentials.
- Modify fingerprint parameters and proxies: A casual change can suddenly alter the account's login environment. Assign to dedicated personnel, and verify the exit after changes.
- Delete environments: Difficult to recover; reserve for administrators only.
- Manage members and roles: This permission allows self-elevation; give only to owners.
Step 3: Add Sub-Accounts, Use Passwordless Sharing Instead of Sending Passwords
There are two common ways to add: directly generate internal accounts within the team, or invite members via email. Either way, select the role and authorized groups together when adding—don't bring them in first and configure later. Default permissions during the gap may be broader than you expect.
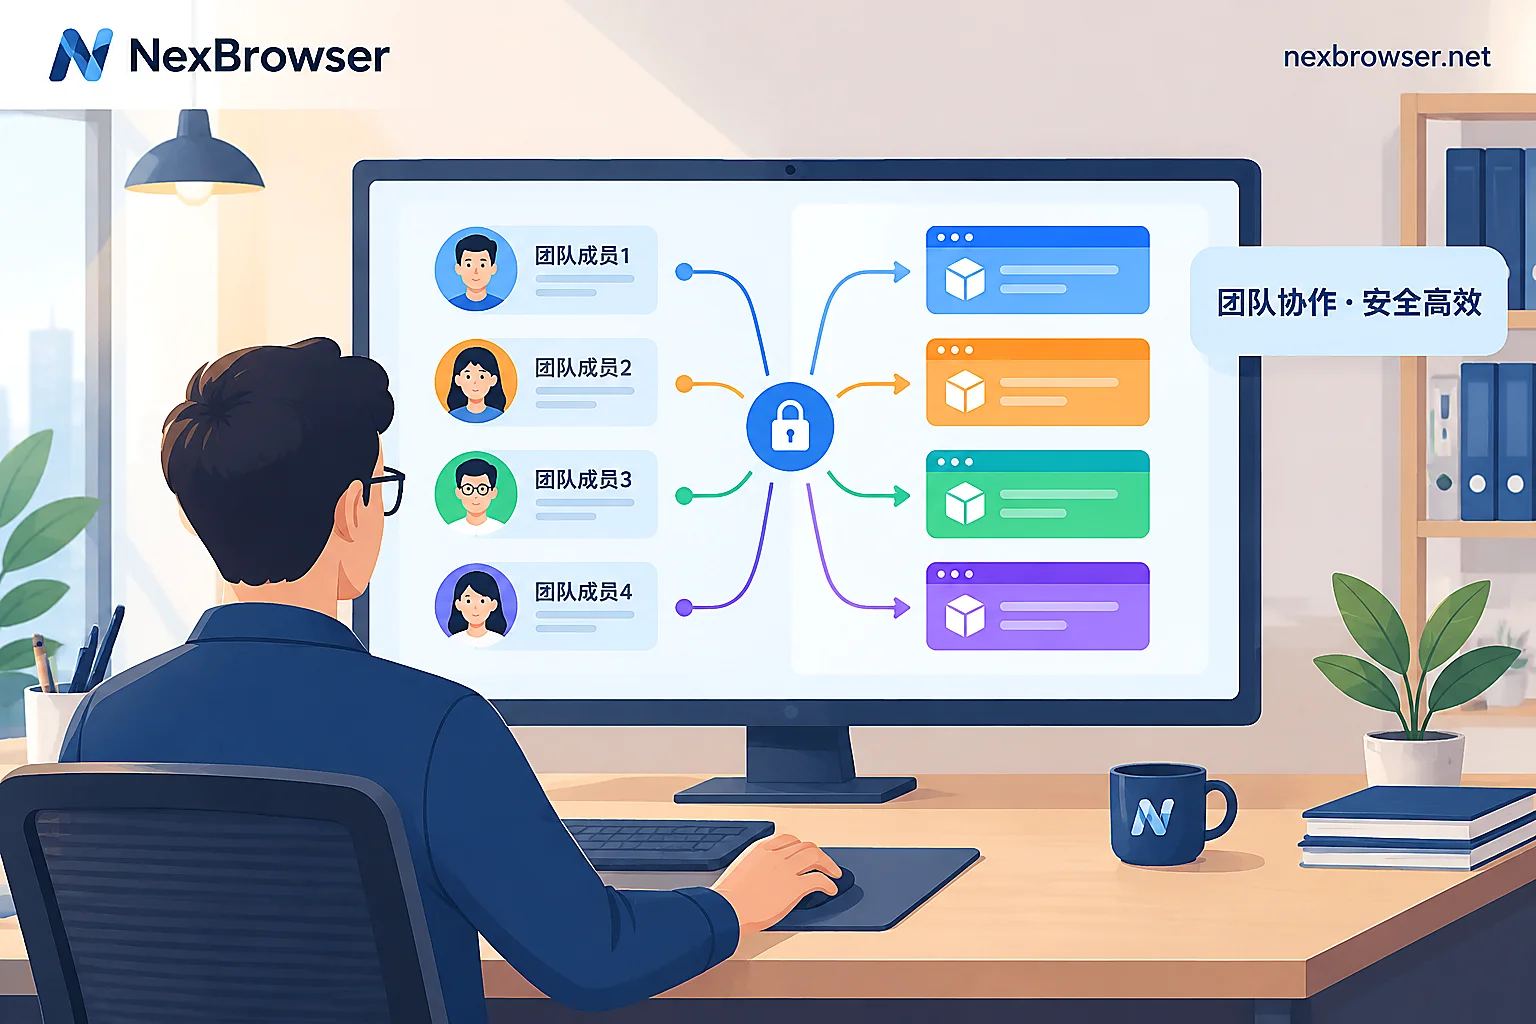
When delivering environments, use passwordless sharing: authorize an already logged-in environment to a member. The member opens it with the session intact, and the platform account password is not shared. The benefit is that when personnel changes occur, you simply revoke the environment authorization instead of changing passwords individually.
But passwordless doesn't mean risk-free. Being able to open the environment means operating as that account, so the scope control in the first two steps remains key. Platform-side passwords and two-factor authentication should stay with administrators.
NexBrowser's team features provide role-based permissions, support passwordless sharing, and sync environment configurations via encrypted cloud storage without you copying files to members. Two practical conditions to confirm in advance: the client is currently Windows-only, with macOS still in development; member count consumes member capacity, free tier features are not reduced, and when team size exceeds the free quota, expand as needed. The quota details are subject to the pricing page and the free activity page at the time.
Step 4: Log In with the Sub-Account to Confirm Permissions Are Effective
Configured permissions don't mean they're active. The most direct way is to log in as the sub-account and check:
- Environment list: Only authorized groups appear, and the count matches your expectation.
- Sensitive operations: Try exporting, deleting, viewing proxy details—these entries should be unavailable or denied.
- Open an environment: The login state is still there; use a detection page to see if the exit IP matches the account's usual region.
- Admin side: If the tool provides team operation logs, confirm this login and environment opening were recorded.
If a member sees extra environments, common causes are: the role itself includes a scope like "all environments," or the member was added to multiple groups—in many tools, multiple authorizations stack. For troubleshooting, see Can Team Members See All Environments?.
Two Things to Manage After Assignment
Avoid the same environment being opened by multiple people simultaneously. Multiple people logging into the same account from different locations can overwrite data and easily trigger the platform's abnormal login detection. Enable environment mutual exclusion if the tool supports it (only one person can open at a time); otherwise, rely on scheduling agreements. For specific division of labor, see What Happens When Multiple People Log Into the Same Environment Simultaneously.
Adjust promptly when positions change. When a member changes groups, modify the group authorization rather than adding a new group. When someone leaves, transfer environments to the successor first, then disable the sub-account. Reversing the order can result in environments no one can open. For the complete process, see How to Hand Over Accounts After Operations Staff Leave.
It's recommended to periodically review each member's authorized groups and roles, especially accounts that were temporarily granted permissions like export—revoke them after use.


Comments(0)