 NexBrowser指纹浏览器-官方博客Blog
In a team, allocating environment permissions relies on two things working together: roles determine what members can do, and groups determine which environments members can access. The operation order is: first organize environments into groups by business, then define roles for members, finally authorize groups to members, and verify by logging in with the member's account.
When allocating, follow the principle of "just enough." Execution colleagues only get the permission to "open and use," while changing proxies, modifying fingerprints, deleting environments, and managing members are reserved for a few people.
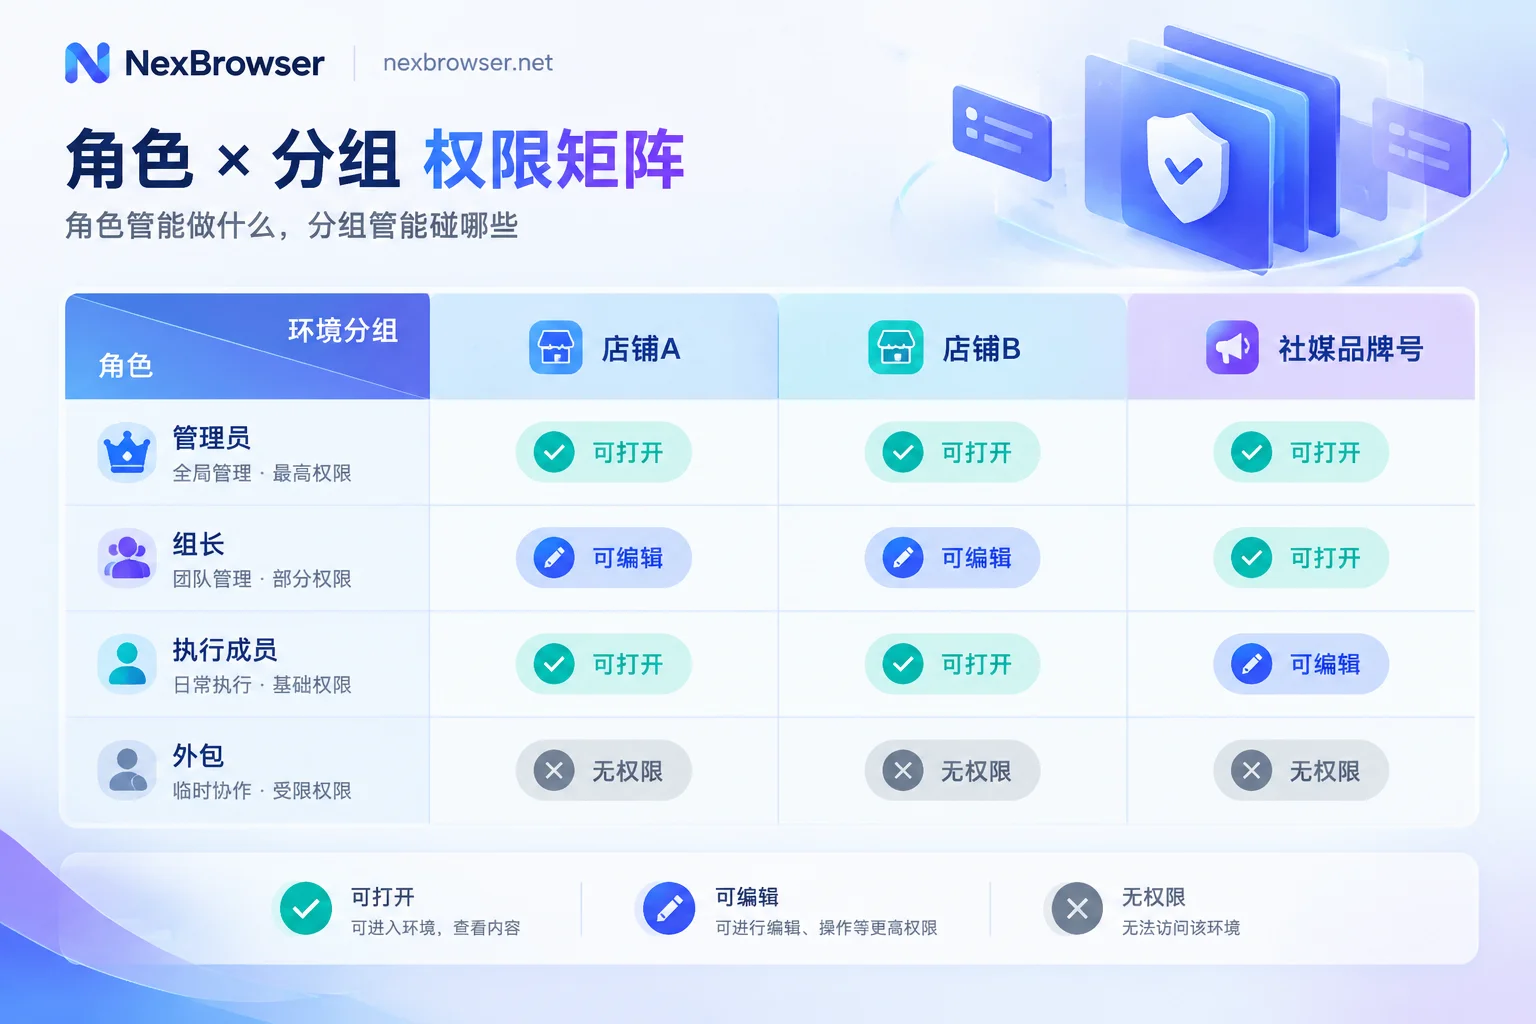
Step 1: Divide groups by handover unit
Groups are the smallest unit for granting permissions. How you divide them determines how smooth future handovers will be. There are three common approaches:
- By platform or store, e.g., "Store A - US site" or "Social Media - Brand Account." Suitable for e-commerce and social media operations.
- By project or client. This is most convenient for agency teams; when a client leaves, the whole group can be archived.
- By person responsible. Not recommended, because once a person is transferred, the entire group of environments must be split and reallocated.
The only criterion is: will this group of environments be handed over to one person as a whole in the future? If yes, it is suitable to be a group.
Each environment should be placed in only one group. If the same environment appears in two groups, it might fall into the authorized scope of two people without anyone realizing it.
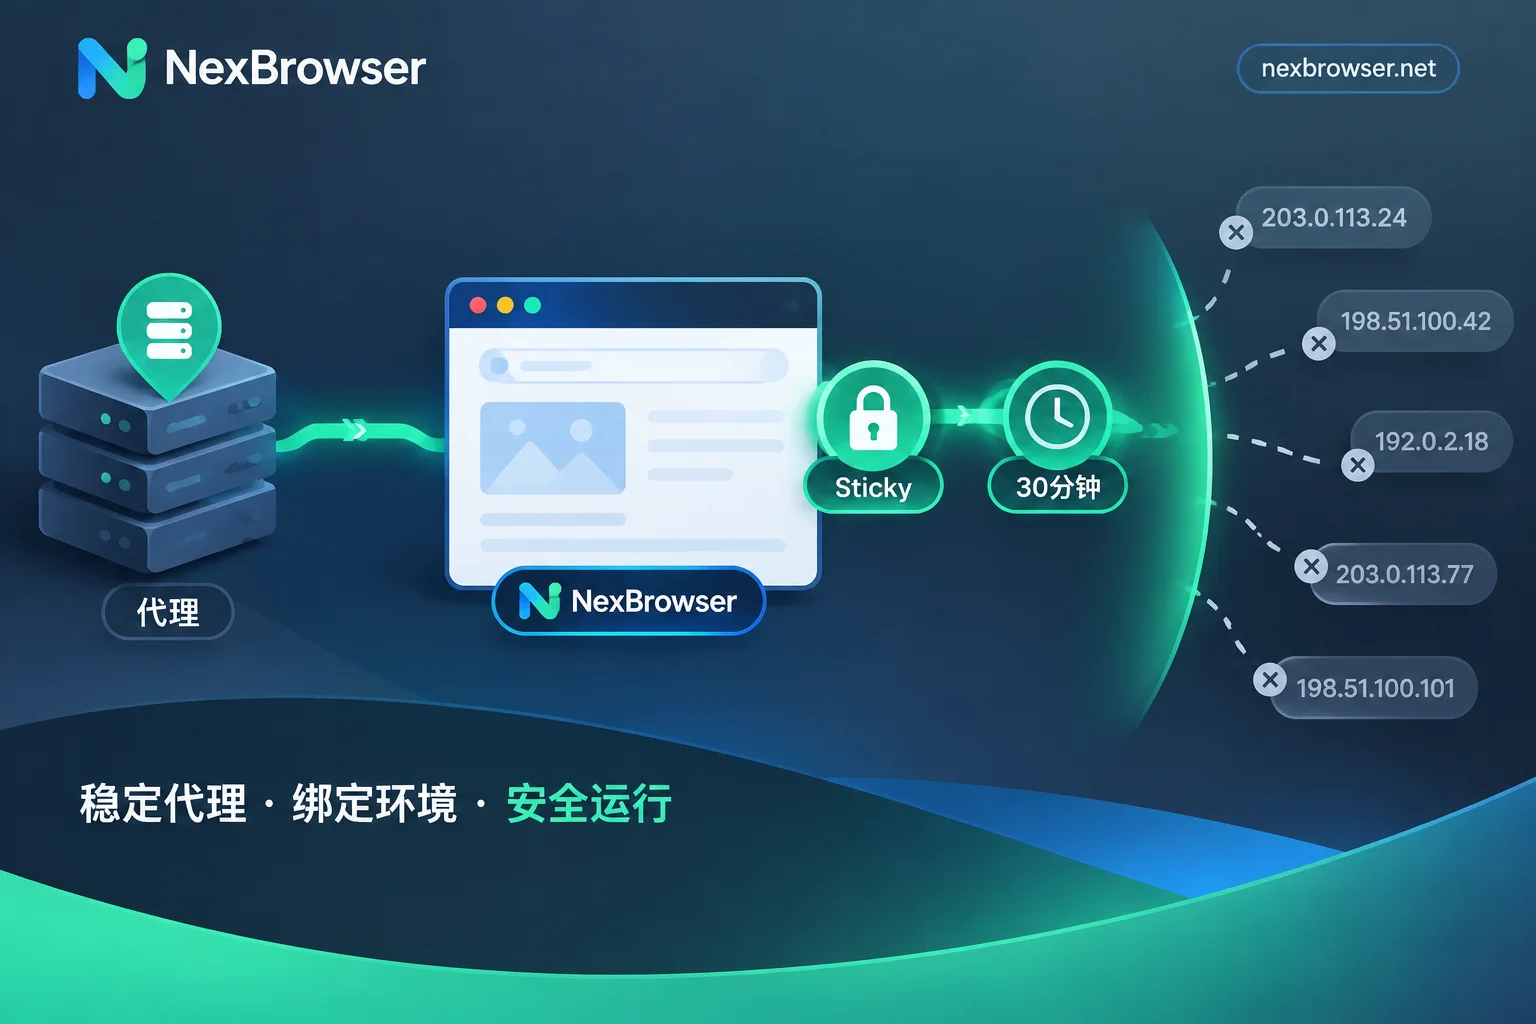
When creating a new environment, create it directly in the corresponding group, and bind the proxy to the environment. For settings like language and time zone, it is recommended to use templates to replicate and distribute uniformly, rather than letting members configure them individually.
Step 2: Define roles for members
The preset role names vary across tools, and some support custom roles. The name doesn't matter; first, think clearly about separating the following types of permissions:
| Permission | Administrator | Team Lead/Supervisor | Execution Member | Temporary or Outsourced |
|---|---|---|---|---|
| Open, use environments | ✓ | ✓ | ✓ | ✓ (limited to specified groups) |
| Create, copy environments | ✓ | ✓ | As needed | ✗ |
| Edit proxy and fingerprint parameters | ✓ | ✓ | ✗ | ✗ |
| Delete environments | ✓ | Grant cautiously | ✗ | ✗ |
| Export cookies / environment data | ✓ | ✗ | ✗ | ✗ |
| Add members, adjust authorization | ✓ | As needed | ✗ | ✗ |
Two items in the table need separate explanation:
- Editing environments is not granted to execution members by default. Edit permissions typically include modifying proxy and fingerprint parameters. If a member changes the proxy, the exit IP may not match the account's previous login location, making troubleshooting time-consuming.
- Exporting cookies is reserved for administrators only. Exporting cookies is equivalent to taking the login session out of the team.
Step 3: Authorize groups to members
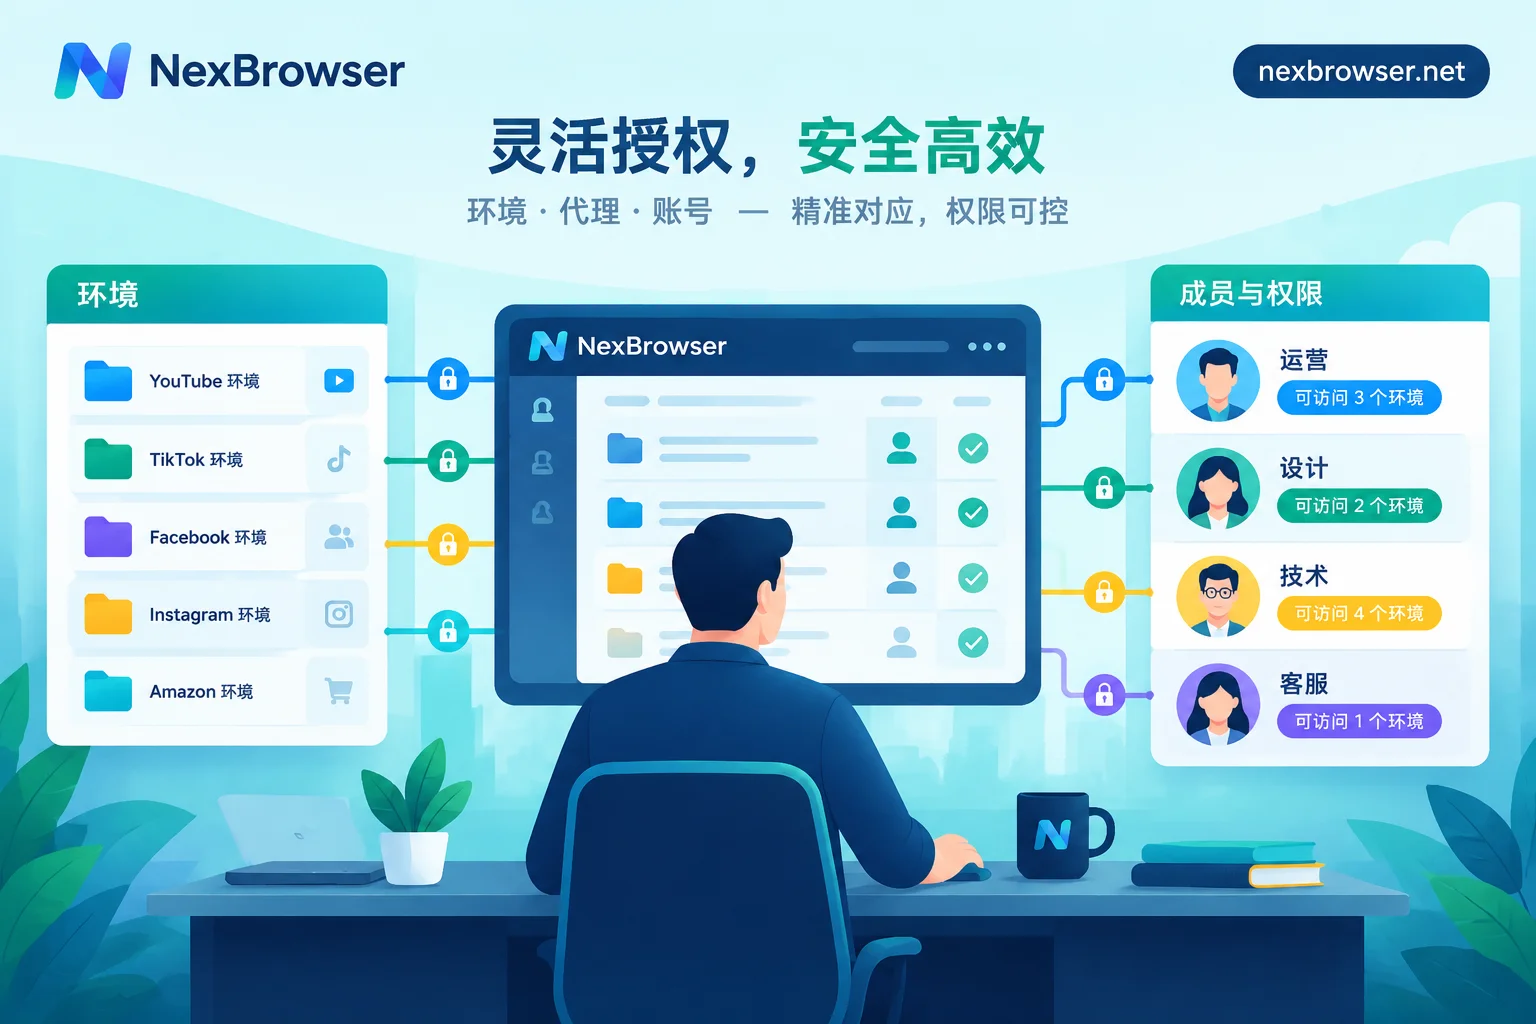
In member management or group management, establish the "group-to-member" relationship. The entry point varies by product: some have you check groups in member properties, others have you add members in groups. After authorization, members can only see, pull, and open environments within their authorized scope.
After authorization, don't notify members yet; first verify it yourself:
- Log in to the client with a test member account and check whether the environment list only shows authorized groups.
- Try a few operations that are not open, such as editing proxy or deleting environments, and confirm they are blocked.
- Open an environment and check whether the login status is carried over and whether the exit IP matches the one bound to that environment.
Password-free sharing: give members a session, not a password
A major use of the team version is that members do not need to know the platform account password. The method is: the administrator first logs in to the environment, then encrypts and syncs session data such as cookies and local storage to authorized members. When members open the environment, they are already logged in.
There are several prerequisites to clarify:
- Sessions expire. When the platform requires re-verification, it must be handled by someone who holds the credentials. Agree in advance who is responsible.
- Browser permissions cannot manage account settings pages. Members on a logged-in page may still enter settings to change passwords or rebind phone numbers. This must be constrained by the platform's built-in sub-account permissions or internal team rules.
- Only one person should operate the same environment at a time. Two computers writing to the same session simultaneously can cause issues.
For more details, see Let members log into environments without seeing account passwords.
How to adjust when personnel change
Transfer: Remove authorization for the old group, then grant the new group. The environments themselves do not need to be changed.
Offboarding: Handle in order:
- First disable the member account or remove the seat, and revoke all group authorizations.
- Then, as needed, change platform passwords and remove login devices on the platform.
The environment's fingerprint parameters, proxy, and cache are retained on the team side, so when handing over to a new colleague, simply grant authorization. No need to rebuild the environment or log in again on a new computer. For a complete checklist, see How to recover browser environments and permissions after an employee leaves.
Some products also provide team operation logs, which can show who opened which environment at what time and what configurations were changed. If your tool has logs, check them first when troubleshooting anomalies; if not, keep internal records of group ownership and each authorization change.
Common pitfalls
- For convenience, give everyone administrator permissions. Once a problem occurs, you can't tell who changed what, nor revoke it.
- Multiple people share one main account to log into the client. All operation records are attributed to one person, and you cannot revoke a specific person's permissions separately.
- Create groups by person. Every personnel change requires reorganizing environments.
- Do not verify after authorization. Over- or under-authorization is often discovered only after something goes wrong.
How to do it in NexBrowser
Each environment in NexBrowser has independent cookies, cache, local storage, and proxy. It also supports environment grouping, role-based authorization, and password-free sharing. Environment configurations are encrypted and synced via the cloud, so members can log in on their own computers and access authorized environments.
The three steps above correspond to the following operations in NexBrowser:
- Create groups and put environments into them.
- Add members and set roles.
- Authorize groups to members.
The specific names of roles and menus are subject to the current client version.
The free tier opens all features, so you can first bring one or two colleagues to run through the entire process (free quota is subject to the current description on the limited-time free activity page). Expand when you need more windows or members; the paid purchase is for window and member capacity.
Also note the system: the client currently only has a Windows version, and the macOS version is still in development. Before allocating, confirm what system members are using.
You can start by creating groups with Environment isolation and grouping; when the number of members exceeds the quota, see Pricing and expansion.


Comments(0)