 NexBrowser指纹浏览器-官方博客Blog
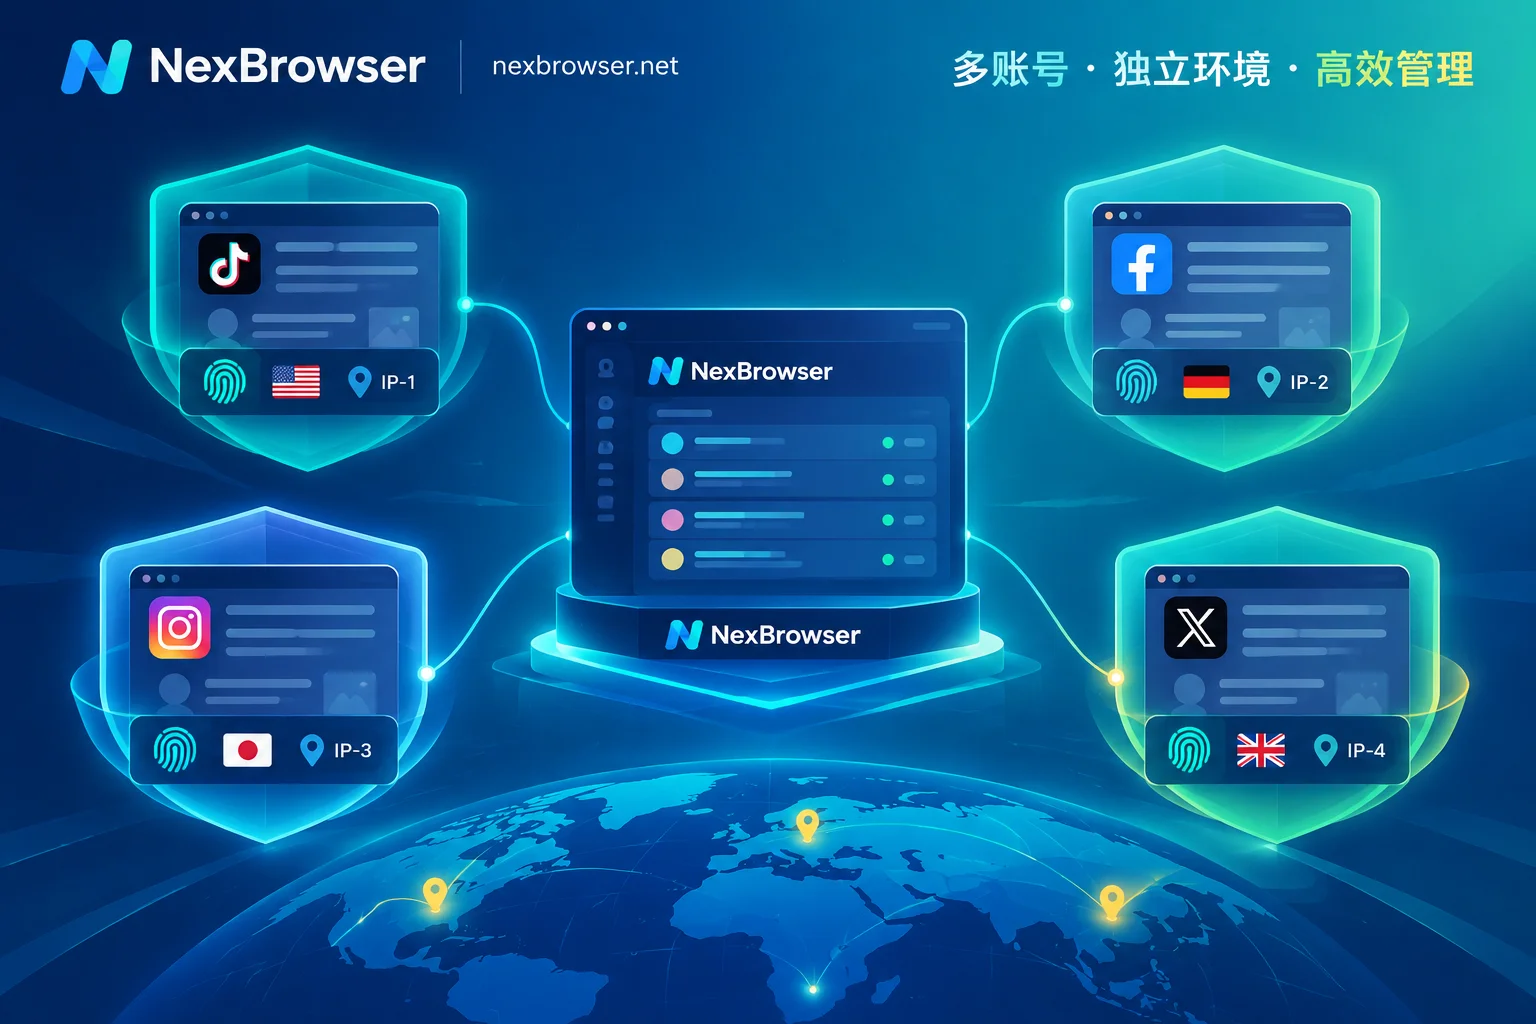
To bind a proxy separately for each environment, the correct place is not the global proxy in system settings, nor installing a proxy plugin in the browser, but filling in the parameters in the "Proxy Settings" of each browser environment. This way, each environment uses its own tunnel when launched; exits do not interfere with each other, and closing one does not bring down the network of others. Plugin methods are the opposite: they run inside the environment, proxy credentials may be readable by pages, and switching environments requires manual toggling, which is error-prone.
Below is the practical order of operations: what to prepare, where to fill in, how to confirm it’s actually effective, how to scale across many environments, and how to troubleshoot failures.
1. Prepare the Four Essentials Before You Start
Regardless of the client, a proxy line consists of four parts; missing one will stall you:
- Protocol: HTTP, HTTPS, or SOCKS5. The provider’s dashboard usually indicates it—don’t guess. SOCKS5 operates at a lower level and supports a wider range of traffic; many default to it. But if the provider only opens an HTTP port, selecting SOCKS5 will fail to connect.
- Host: IP address or domain name.
- Port: Note that on the same server, HTTP and SOCKS5 often use different ports.
- Authentication: Either username + password or whitelist—the provider records your local machine’s public exit IP and only allows connections from that IP. In whitelist mode, you don’t enter credentials in the client, but if your home or office broadband’s public IP changes, all environments will fail simultaneously. This is a common reason for sudden total disconnection the next morning.
After obtaining credentials, test one proxy in a single environment first before scaling. Importing a hundred malformed proxies in batch costs far more troubleshooting effort than testing one first.
2. Steps to Bind a Single Environment
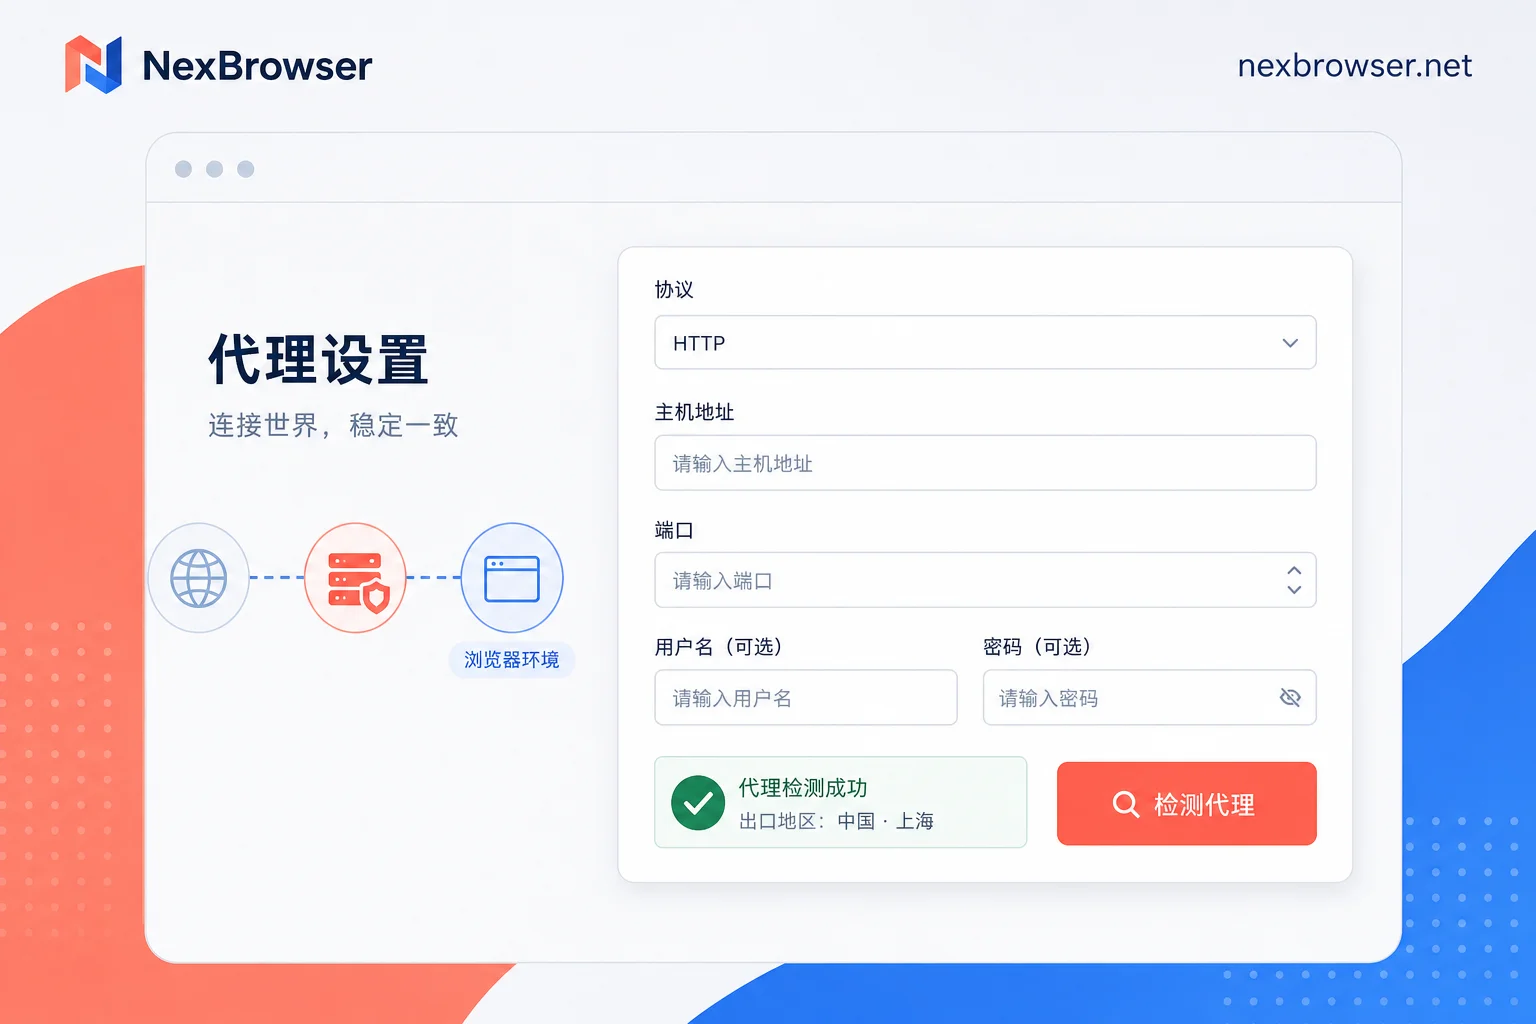
- In the client, create or edit a browser environment, find the "Proxy Settings" or "Network Configuration" area.
- Choose the proxy type (HTTP / HTTPS / SOCKS5), then enter host, port, username, and password. Most tools support pasting a one-line string like
IP:端口:账号:密码to auto-split into fields; this format is typically exported from the provider’s dashboard. Pasting reduces errors compared to manual entry. - Before saving, click "Test Proxy" or "Test Connection". This typically returns the connectivity status of the proxy node, the detected exit IP, and geolocation. If the test fails, don’t save and move on. Launching an environment with a dead proxy often results in white screens or timeouts, making it harder to diagnose.
- After the test passes, save the environment.
In NexBrowser, this step is also per-environment: each environment has its own cookies, cache, local storage, and proxy stack, supporting HTTP/HTTPS/SOCKS5. After entry, you can test with one click; if using NexIP residential IPs, you can bind directly in the environment with one click, while third-party proxies are entered as usual. For specific field locations, see Bind Proxy and Verify Exit.
3. Don’t Just Change the Network Exit—Align Fingerprints with the IP
Binding a proxy only solves "which IP to go out from"; there’s also the environment’s claimed identity that should match this IP. Three common linked items:
- Timezone: If the exit is in Frankfurt but the environment’s timezone is Asia/Shanghai, the local time read by JS can be hours off from the IP’s geolocation.
- System Language / Accept-Language: Mismatches with the target market are visible differences.
- Geolocation: When a webpage requests location permission, the returned coordinates should match the proxy’s location or be denied according to environment policy.
Most fingerprint browsers read the proxy IP’s country, city, and ISP, and automatically match timezone, language, and geolocation. Enabling this auto-matching is more convenient than manual entry, but after changing the proxy’s geolocation, re-confirm the matching results, especially when switching from dynamic proxies to static residential IPs.
Another item is WebRTC. It can directly expose the device’s internal and public IP addresses via UDP channels, taking a different path than HTTP proxies. So "proxy connected" doesn’t mean "no local IP leak." Environments typically provide options to replace (substitute with proxy IP) or disable WebRTC. Choose based on target site needs—some sites rely on WebRTC for audio/video, so disabling could affect functionality.
4. How to Confirm It’s Actually Working After Launch
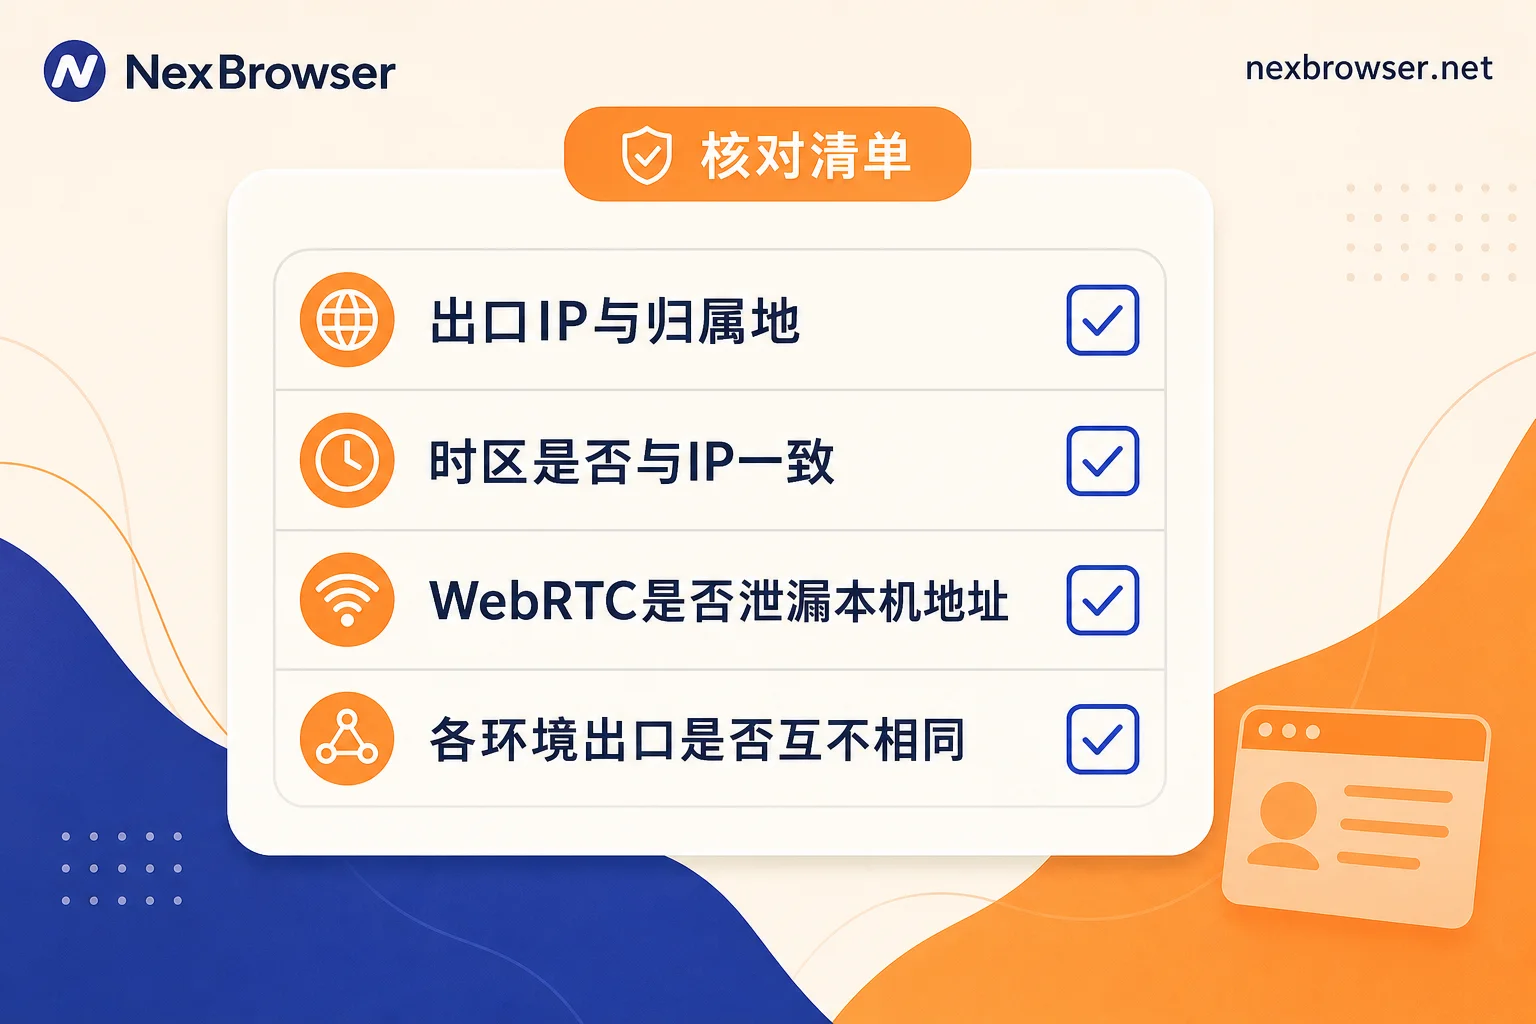
The test button inside the client tests the "client-to-proxy" segment; whether traffic actually routes through the proxy in the page needs to be checked within the environment. After launching, open an IP/fingerprint detection page (e.g., ipinfo.io, whoer.net, browserleaks.com) and verify four things:
- The displayed exit IP and geolocation match the one you bound.
- The timezone detected by the page matches the IP’s location.
- The WebRTC section should not show your real local address.
- Open multiple environments and check that exit IPs are different—if two environments show the same IP, one proxy isn’t actually active, or you reused the same proxy for two environments.
If the exit still shows your local IP, don’t rush to change proxies; most cases relate to WebRTC, UDP channels, or local system proxy priority. For troubleshooting steps, see What to Do If Exit IP Is Still Local IP After Binding Proxy.
5. Scaling to Multiple Environments Efficiently
When the number of environments reaches double digits, manual entry isn’t practical. Typically, three time-saving approaches:
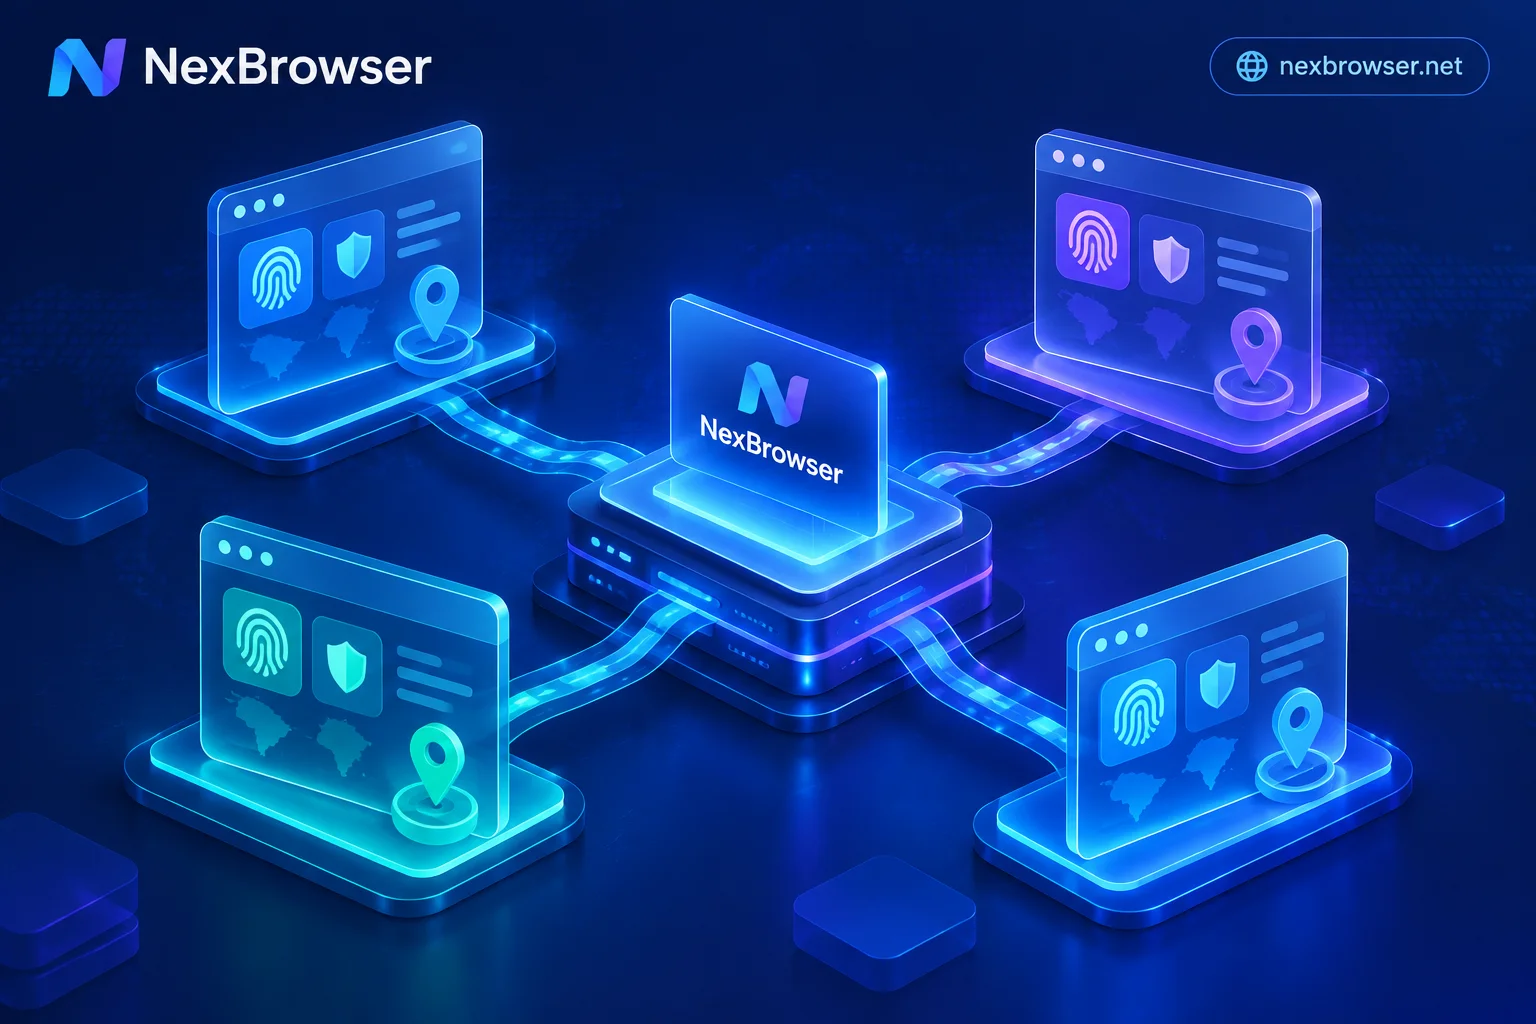
- Batch Import Proxies: Organize the provider-exported list according to the client’s template, import all at once, then assign to corresponding environments. Column definitions vary by client; download the current version’s template file and fill accordingly—don’t copy column orders from elsewhere.
- Template Cloning / Environment Duplication: Configure one environment first (fingerprint settings, launch parameters, common options), duplicate it, then only change proxy and account info. Note: don’t reuse the same proxy for duplicated environments.
- Group Management: Group by platform, business line, or proxy geolocation for quick targeting during handover and troubleshooting. NexBrowser supports batch proxy import and one-click testing; environment grouping and template cloning are in the same place. For multi-environment structures, see Environment Isolation and Grouping.
When assigning proxies, consider session type: for accounts requiring long-term stable exits (e.g., logged-in environments), use static residential IPs; dynamic proxies are suitable for short-cycle, rotatable tasks. Mixing them can lead to "same account in this city today, another country tomorrow." For details, see Matching Static Residential IPs and Dynamic Proxies.
6. Troubleshooting Connection Failures: Check These Four Items
Failed tests or inaccessible pages usually fall into these four categories; checking in order is faster than random proxy changes:
- Wrong Protocol: Filling an HTTP port with SOCKS5 or vice versa. Confirm the protocol opened for that port in the provider’s dashboard.
- Spaces or Special Characters in Credentials: Easiest to introduce when copying from chat tools or spreadsheets; spaces at the beginning/end; special characters like
@,:in passwords might be misinterpreted as delimiters in one-line formats, causing field splitting errors. In such cases, switch to entering fields individually. - Local Firewall or Security Software Blocking: Especially for non-standard ports; temporarily allow the client process, then test.
- Whitelist Not Updated with Current Exit IP: With whitelist auth, if you change networks or restart your router and get a new public IP, the provider won’t recognize it. Re-add the current public IP in the dashboard.
An additional quick diagnostic: test the same proxy outside the client (via system proxy or command-line tools). If it works outside but not in the environment, the issue is in client configuration; if it fails outside, the issue is with the proxy itself or the network exit.
If the proxy connects and pages open but you frequently trigger captchas during login, it’s likely not a configuration issue but the IP’s history. See Proxy IP Pollution: Causes and Detection for Account Risk Control.
7. What About Proxies During Machine Changes and Handover?
Configurations stored only on the local machine mean you must re-enter everything on a new computer, and colleagues need proxy credentials. A more robust approach is to have configurations follow the environment: NexBrowser supports cloud-encrypted sync of environment settings, allowing restoration after switching devices; teams can share environments with role-based permissions and no-password sharing, so members open environments directly without seeing proxy credentials. This is practical for teams where proxies are metered or credentials shouldn’t be shared.
The client is currently Windows-only; macOS is under development. If your team has Mac users, plan accordingly. To start, visit the download page.
One last reminder: binding proxies per environment solves network exit isolation and operational order for your own accounts, making each environment’s network and fingerprint self-consistent and traceable. It is not a guarantee of "non-association"; platforms consider far more than IP and fingerprints. Account behavior and data consistency are equally important. Configurations done cleanly don’t justify actions against platform rules.


Comments(0)