 NexBrowser指纹浏览器-官方博客Blog
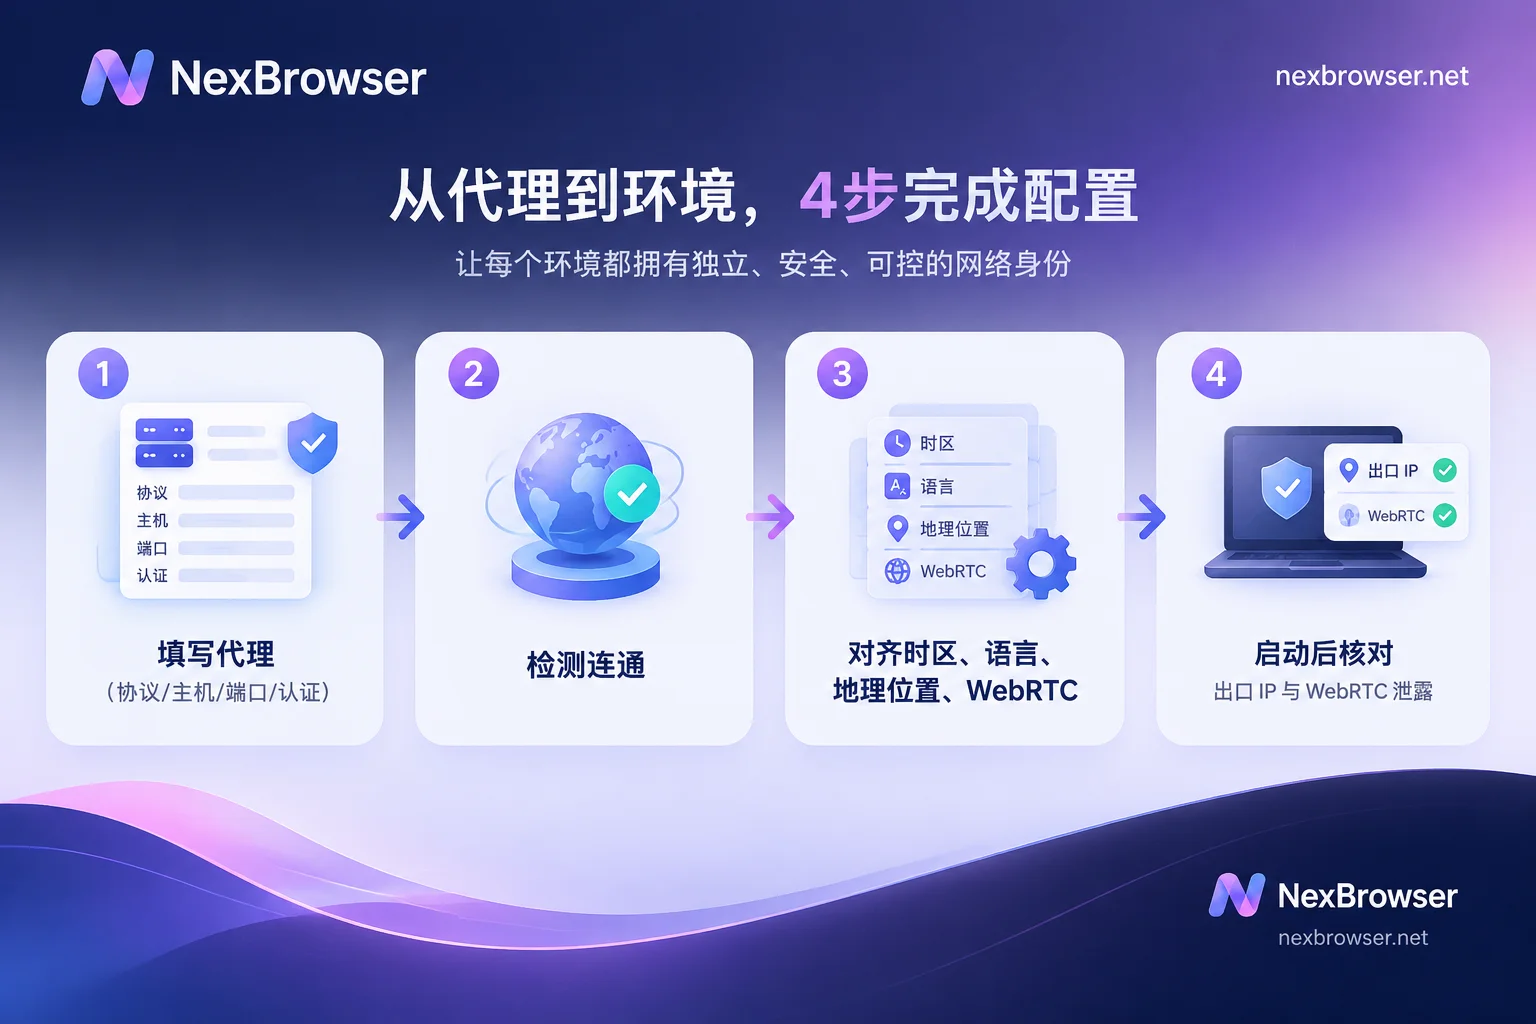
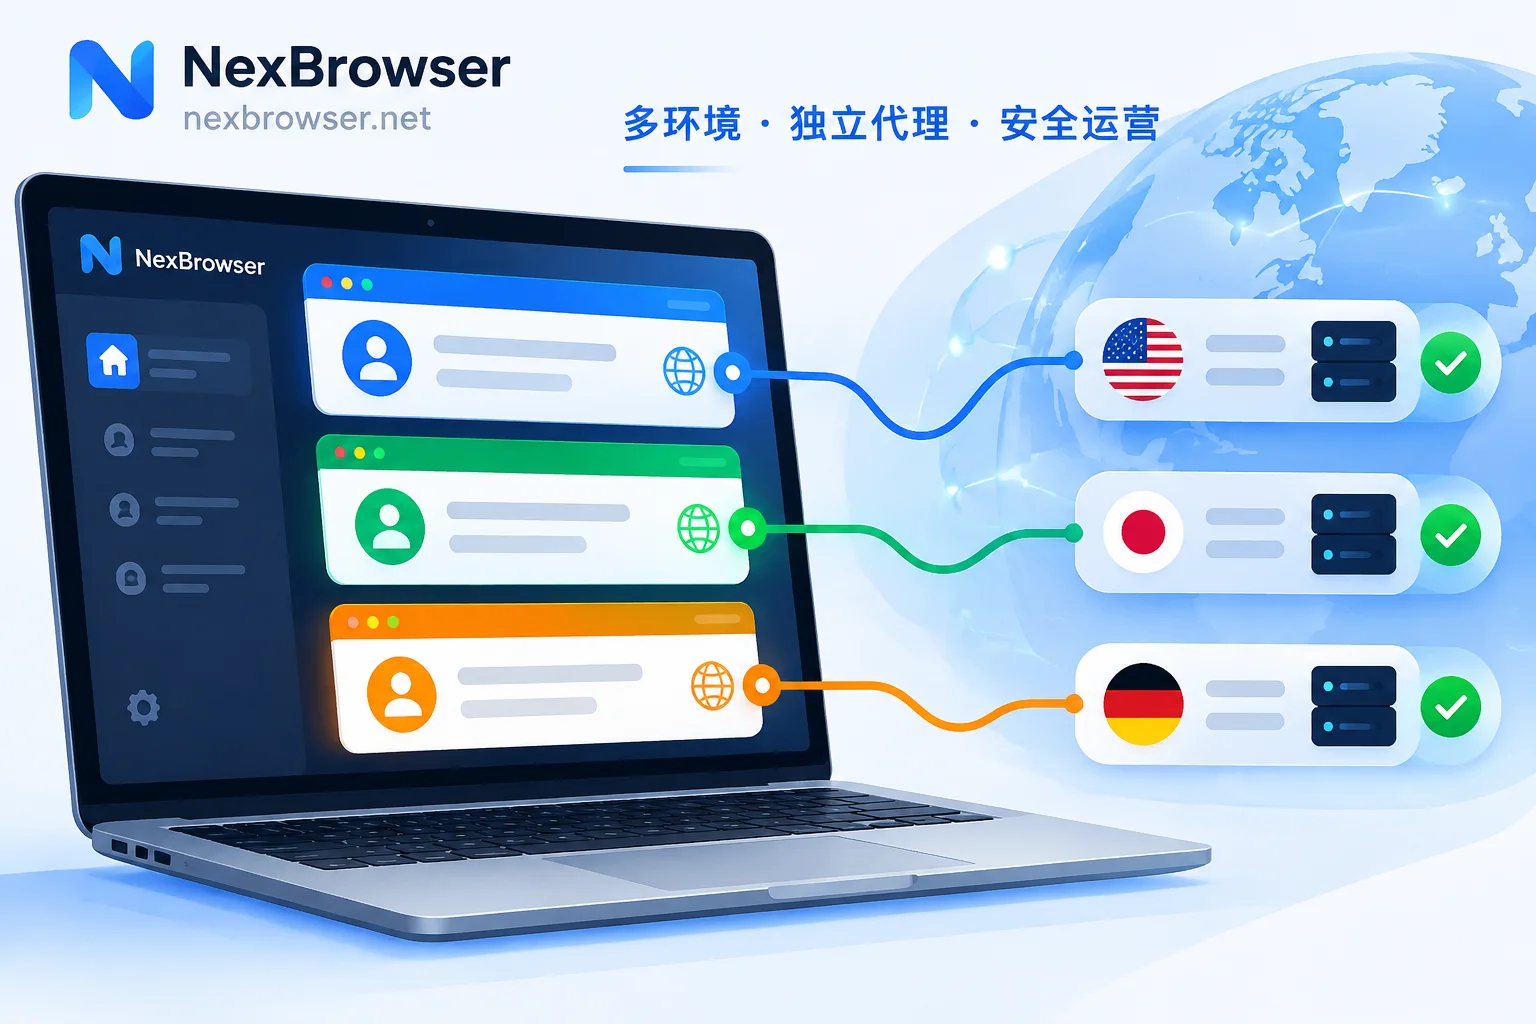
The approach is: bind a separate proxy to each profile, so multiple accounts do not share the host machine's IP. It breaks down into four steps:
- Select the correct protocol in the profile's proxy settings and fill in host, port, and credentials;
- Run a connectivity test before saving;
- Adjust timezone, language, geolocation, and WebRTC settings to match the exit;
- After launching the profile, use third-party tools to verify the exit IP and check whether WebRTC is leaking.
Step 2 only tells you the proxy is reachable; step 4 confirms the browser is actually using that exit. Below, we go through each step in order.
Before you start: clarify proxy details and assignments
From your proxy provider, you typically receive:
- Protocol: HTTP, HTTPS, or SOCKS5. Follow the provider's instructions; don't guess from the port number.
- Host: IP or domain.
- Port.
- Authentication: username and password. Some providers use IP whitelisting, in which case you need to add your public IP to their dashboard first.
Many fingerprint browsers let you paste a single string like host:port:user:pass and the client will parse it into the individual fields. If you have a batch of proxies, it's best to format them this way first; bulk import will be much easier later.
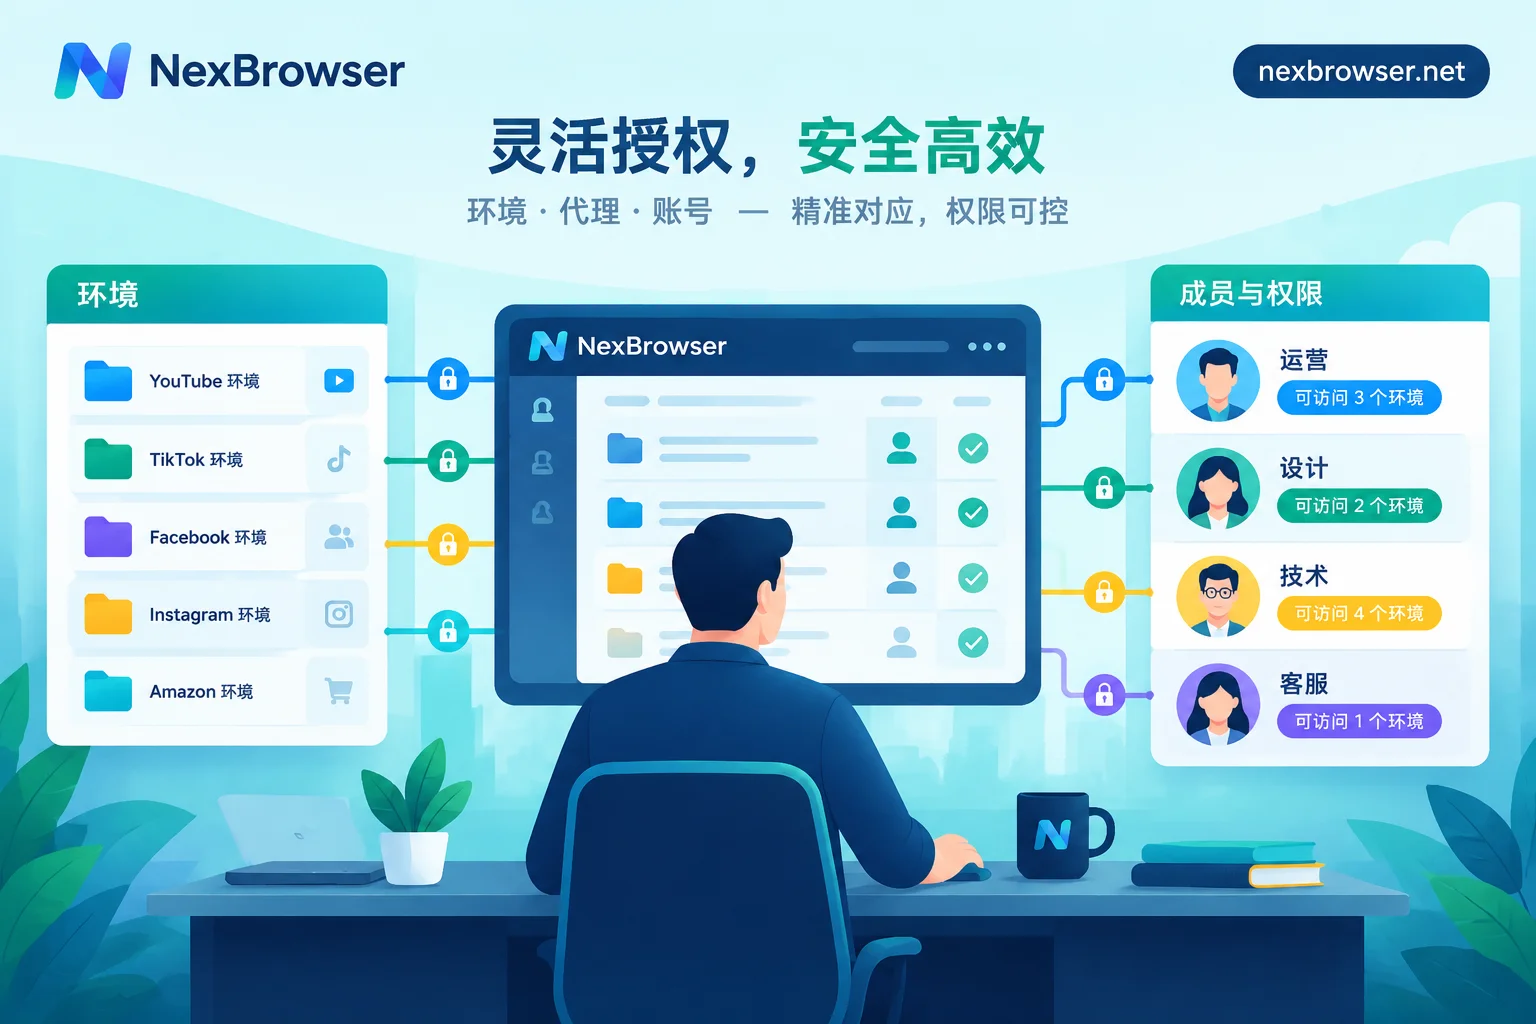
For assignments, create a mapping table listing which account uses which profile, which proxy it corresponds to, and which country or city the exit is in. You'll need this table for troubleshooting and handovers.
If you're using rotating proxies, the exit may switch automatically during use, which can affect logged-in sessions. We cover those separately in Does a fingerprint browser support rotating proxies. In short, use sticky sessions and make sure the exit doesn't change mid-session.
Step 1: Fill in the proxy in the profile
When creating or editing a profile, find the "Network" or "Proxy" settings:
- Set the proxy mode to "Custom" (names may vary by software).
- Match the protocol type to what your provider gave you.
- Enter host, port, username, and password, or paste the full proxy string and let the client parse it.
Choosing the wrong protocol is the most common cause of connection failures. For example, if your provider offers SOCKS5 but you select HTTP, the test will usually fail immediately.
Step 2: Test connectivity before saving
After filling in the details, click "Test proxy" or "Test connection". Save only if the result is normal. If the test fails, check in this order:
- Is the protocol type the same as the provider's?
- Is the port correct? Are there extra spaces before or after the host?
- Have the username and password expired? If using IP whitelisting, is your current public IP in the whitelist? (Home broadband IPs can change.)
- Has the proxy plan expired or run out of traffic?
A successful test only means the proxy is currently usable; it doesn't prove the browser is actually using it.
Step 3: Align fingerprint parameters with the exit
Changing only the IP without adjusting other parameters can create contradictory signals within a profile. For example, the exit is in the US, but the browser timezone is Beijing time and the language is Simplified Chinese. Such inconsistencies are easily flagged by platform risk controls.
Many fingerprint browsers offer an option like "Auto-match based on IP" after detecting the proxy's location, which adjusts the following to match the exit:
- Timezone: match the exit city's timezone;
- Language: match the common language of the exit region, or a language your account would reasonably use;
- Geolocation: coordinates near the exit region;
- WebRTC: set to replace with proxy IP or disable, to avoid exposing your real IP.
If you've manually changed any setting, remember to update it after switching proxies. For more on how mismatches trigger risk controls, see IP and browser timezone/language mismatch triggers risk control. We won't cover fingerprint concepts in depth here; see the official basic guide.
Step 4: Launch the profile and verify in the browser
After saving, launch the profile and check the following inside the profile window:
- Exit IP: Open a lookup page like ipinfo.io and verify the IP, country/city, and ASN match this proxy, and that it's not your host machine's broadband IP. You can also check your real IP in a regular browser outside the profile for comparison.
- WebRTC: On a test page like browserleaks.com, check the WebRTC section to confirm your real public IP is not exposed. Real IPs can leak via STUN/TURN requests, which checking only the exit IP won't reveal.
- Timezone and language: The test page should show the timezone and language you set in Step 3.
Do this for every profile individually. Don't assume that if one profile passes, the others are fine. For a more complete leak checklist, see: How to detect the authenticity and spoofing leaks of a fingerprint browser profile.
How to configure multiple profiles in bulk
When you have many profiles, you can:
- Use bulk import to bring in your prepared proxy list all at once, then assign them to profiles individually;
- Configure one profile's fingerprint parameters, then use it as a template to copy similar profiles, swap in each profile's own proxy, and re-align timezone and language;
- After import, run a bulk test to filter out unreachable proxies, then spot-check a few profiles with Step 4;
- Group profiles by business or team member, and keep your mapping table updated.
How to do it in NexBrowser
In NexBrowser, each profile's cookies, cache, local storage, and proxy are isolated, and fingerprint parameters are configured per profile. Mapping to the steps above:
- Single profile: Configure an HTTP, HTTPS, or SOCKS5 proxy in that profile, and use the one-click test to confirm connectivity before saving;
- Multiple profiles: Bulk import your own proxies and test them with one click, then use profile groups and template copying for assignment;
- No existing proxy: One-click bind a NexIP residential IP;
- Switching computers: Profile and proxy configurations are encrypted and synced via the cloud, so they're restored after logging in on a new machine—no need to rebind.
After binding, Step 4 verification is still required. For details on binding proxies and verifying exits, see the Bind proxy and verify exit page. Currently the client only supports Windows; the macOS version is in development. You can install it from the download page. Features are not tiered; the free plan can complete the entire workflow above.
Finally, note that aligning proxies and fingerprints only reduces contradictory signals within a profile; it does not guarantee accounts won't be linked or flagged. Platforms handle datacenter and residential IPs differently and may change their rules, so refer to the target platform's policies and only use this for accounts you are authorized to manage.


Comments(0)