 NexBrowser指纹浏览器-官方博客Blog
Configuring a proxy IP bound to a browser starts with selecting a proxy source and clarifying its type, then filling in protocol and authentication, binding the proxy to a single environment rather than globally, and finally cross-checking outbound consistency through IP lookup and request header inspection. The entire process can be summarized in five steps, each with actionable acceptance criteria to ensure the environment truly uses the designated egress.
Quick Answer: 5 Steps to Bind a Proxy IP to a Browser with Acceptance Criteria
- Select Proxy Source: Determine whether to purchase directly within the software or use self-purchased proxies; acceptance criterion is to clarify the problem this source solves.
- Determine Proxy Type: Choose static residential, data center, or rotating proxies based on stability needs; acceptance criterion is that the type matches the scenario.
- Fill Protocol and Authentication: Accurately fill in host, port, protocol, username, and password per provider info; acceptance criterion is that connectivity tests pass with no misentry signs.
- Bind to a Single Environment: Tie the proxy to a specific environment without setting a global proxy; acceptance criterion is that other environments remain unaffected.
- Verify Egress and Headers: Open IP lookup page within the environment, verify that egress address, ASN, and region match the panel, and check parameters like Client Hints for consistency; acceptance criterion is that all readings cross-match.
Step 1: Choose Proxy Source – What Problems Do In-Software Purchase and Self-Purchased Proxies Solve?
There are only two paths for proxy sources: in-software purchase or self-purchased proxies manually bound. They solve different problems: built-in purchase saves integration and account management costs, suitable for teams that don't want to maintain third-party supplier accounts; self-purchased proxies facilitate unified suppliers, cross-tool reuse, and self-built asset ledgers, suitable for operations with long-term asset needs. Judging from GoLogin's public move in late July 2026 to offer native ISP static residential proxy purchase in paid plans, in-software purchase is becoming a trend, but there's still a gap between "buying an IP" and "having a usable environment" that requires configuration and verification. For setting other environment parameters, refer to the fingerprint browser configuration tutorial.
Step 2: Determine Proxy Type – Which Scenarios Do Static Residential, Data Center, and Rotating Proxies Fit?
| Proxy Type | Stability | Egress Change Frequency | Typical Use Case |
|---|---|---|---|
| Static Residential IP | High | Low | Long-term account operations needing stable login states |
| Data Center IP | Medium | Fixed possible | General testing and debugging with lower egress stability requirements |
| Rotating Proxy | Low | High | Collection tasks with many short-cycle requests |
Selection logic: In multi-account operations, the trade-off between static residential and rotating proxies depends on how stable the login state needs to be: accounts needing long-term login should prioritize static residential, while short-cycle batch requests consider rotating. Note: This only describes observable phenomena and does not infer any platform's determination rules.
Step 3: Fill Protocol and Authentication – Filling Standards for HTTP/HTTPS/SOCKS5 and Common Mistakes
| Field | Correct Filling Standard | Common Mistake |
|---|---|---|
| Host | Proxy server address provided by supplier panel | Filled with panel URL |
| Port | Actual proxy port assigned by supplier | Filled with panel port |
| Protocol | Choose HTTP/HTTPS/SOCKS5 based on supplier support | Wrong protocol selection leads to connectivity but no effect |
| Username/Password | Fill per authentication info; leave blank in whitelist mode | Still filling credentials in whitelist mode |
| Authentication Method | IP whitelist or user/pass, per supplier instructions | Username with region parameter gets truncated |
For protocol selection, if the supplier offers both HTTP and SOCKS5, SOCKS5 offers broader protocol compatibility while HTTP is simpler to configure; the key is consistency with the supplier's given port. The correct sequence: first test connectivity within the software, then check egress readings. Don't assume success just because connectivity works.
Step 4: Binding Scope – Bind Proxy to a Single Environment Rather Than Global or System Level
Binding granularity determines the effectiveness of egress isolation. The proxy should correspond one-to-one with a single browser environment, avoiding setting it as a system or global proxy that causes multiple environments to share the same egress. Sharing leads to identical egress addresses across environments, making it impossible to identify the specific environment in case of anomalies, increasing troubleshooting costs. In NexBrowser, you can use the proxy management feature to bind proxies one-to-one with independent environments for granular attribution. To further understand common configuration errors, refer to Fingerprint Browser Independent IP Configuration Common Errors and Troubleshooting.
Step 5: Egress Verification – Which Readings to Cross-Check Instead of Just the In-Software Connectivity Test
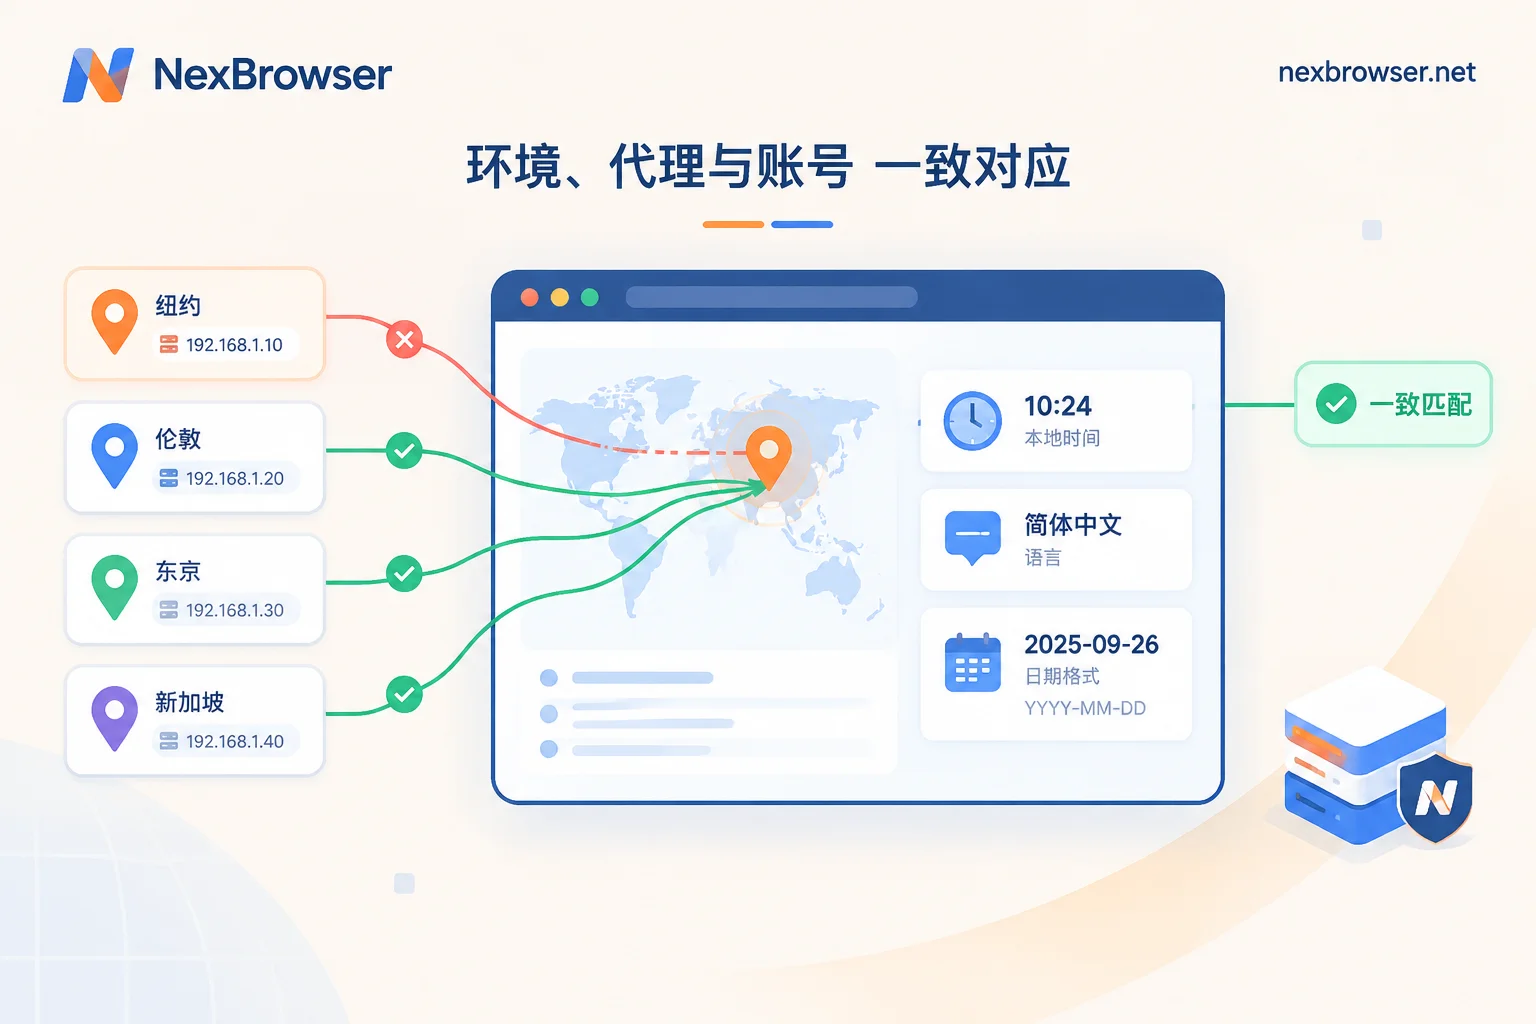
Open an IP lookup page within the target environment, read the egress address, ASN, and region, and compare with the proxy provider panel; also check if timezone, language, and egress region are consistent. The in-software connectivity test only proves a connection, not that business requests go through that egress. When verifying, rely on the egress shown on the IP lookup page, cross-verify ASN and region to ensure they match expectations.
A Layer Often Overlooked: After Proxy Change, Request Headers and Device Declarations May Not Be Self-Consistent
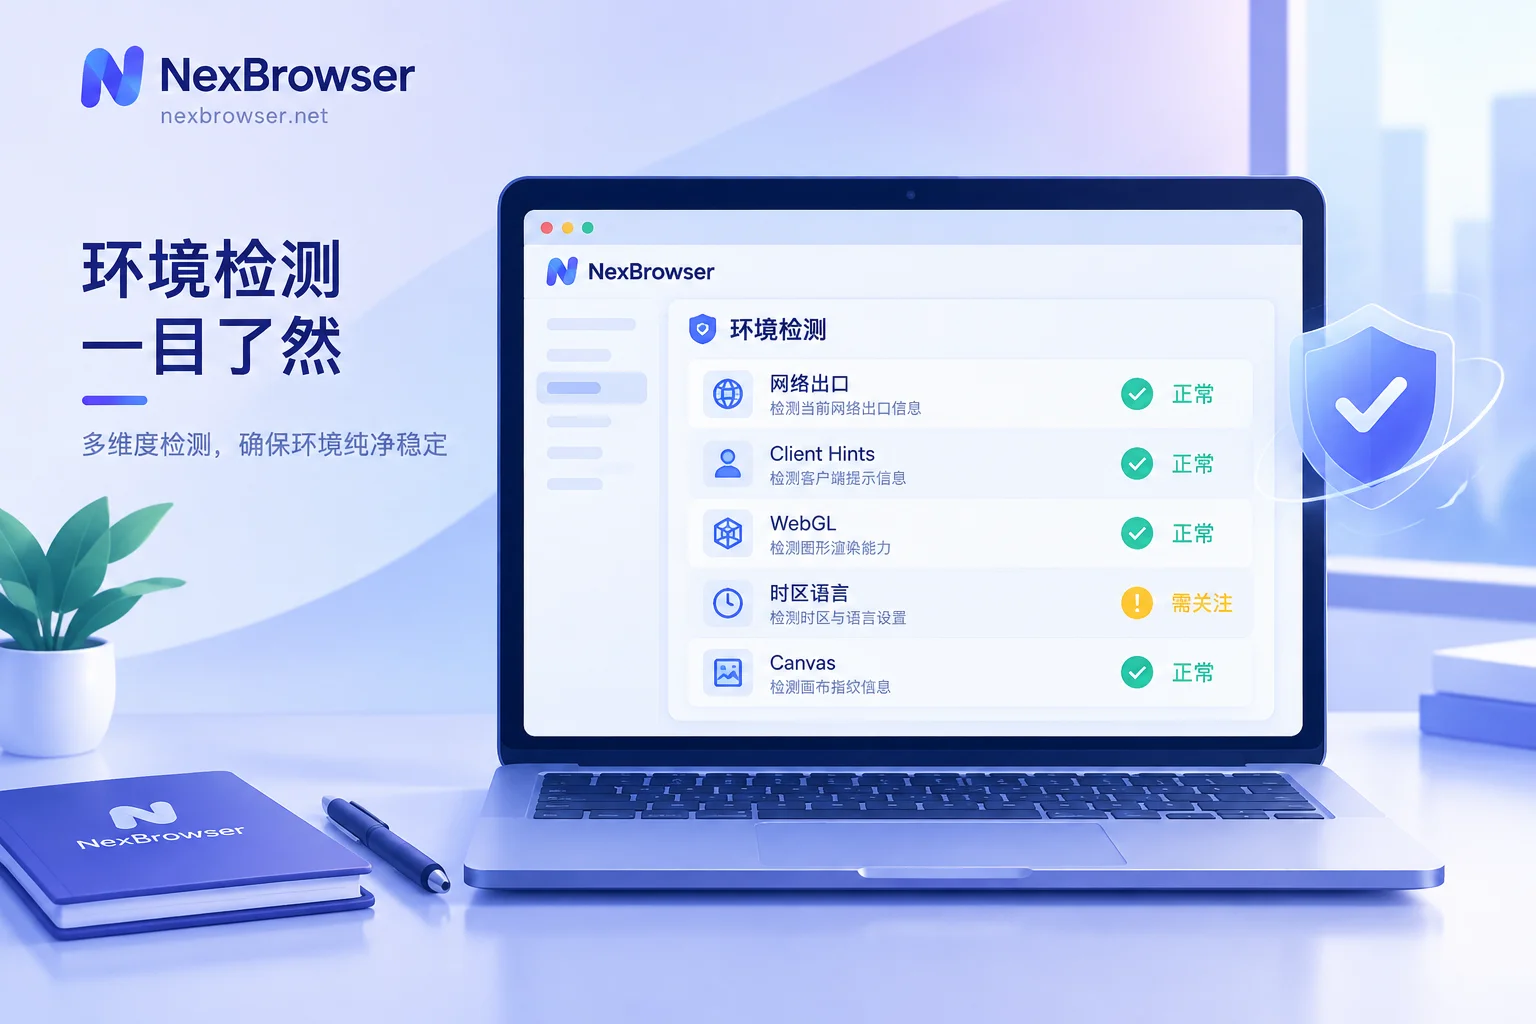
GoLogin fixed a defect in Client Hints transmission where platform and device model mismatched on July 24, indicating that even with the correct egress address, request headers can still be contradictory. Additionally, Chrome advanced to Stable 151 on August 4, 2026, maintaining a biweekly release cadence; as the core baseline moves forward, environment declarations need periodic review. For WebRTC leak protection, see WebRTC Fingerprint Leak Prevention.
Batch Verification for Team Multi-Environments: Turning Point-by-Point Checks into a Reviewable Checklist
In NexBrowser, use HTTP/HTTPS/SOCKS5 proxy management to bind proxies one-to-one with independent environments, and use the Local API to batch-check proxy bindings and egress addresses across environments, creating archival verification records. This turns "checking one by one" into a reviewable checklist action, especially suitable for operations leads writing configuration SOPs for teams. To explore alternative solutions to NexBrowser, refer to GoLogin Alternatives.
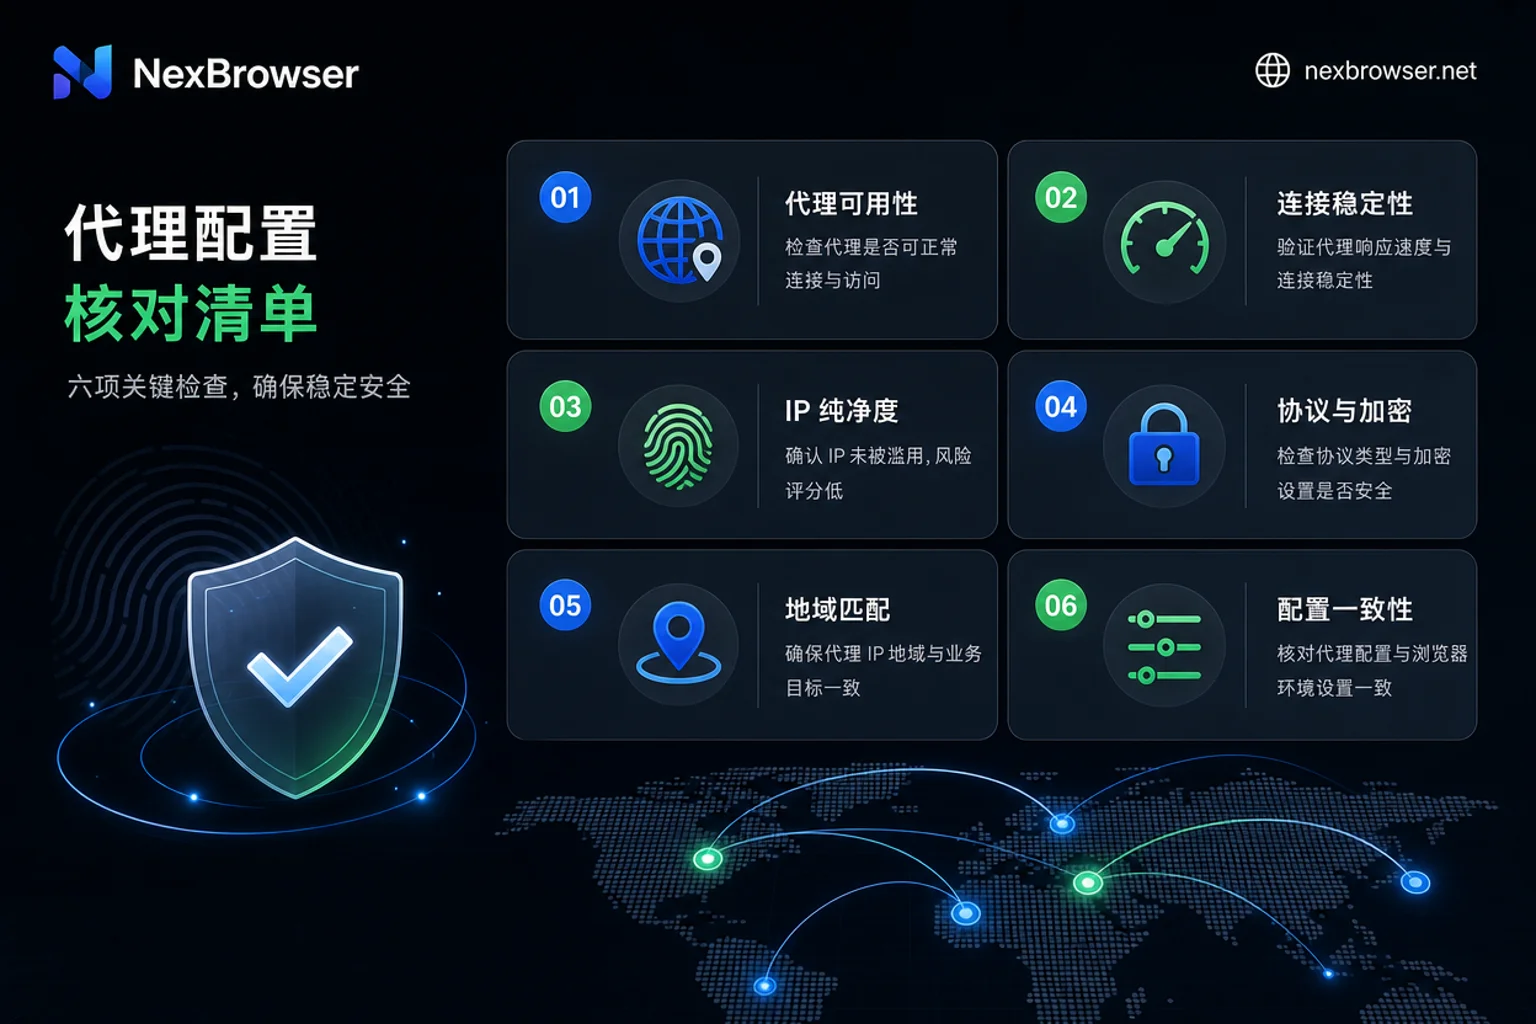
Six Items to Check After Proxy Binding (Copyable Checklist)
Copy this six-item checklist directly into your SOP:
- Source: In-software purchase or self-purchased; clarify the problem it solves
- Type: Static residential, data center, or rotating; choose based on needs
- Protocol: HTTP/HTTPS/SOCKS5; fill per provider info
- Binding granularity: Proxy bound only to a single environment, not global
- Egress readings: Cross-verify IP lookup page and provider panel
- Request header review: Check Client Hints etc., for consistency
Public information cited in this article is as of August 2026; for specific features and pricing, refer to official vendor documentation.
FAQ
Should I fill in HTTP or SOCKS5 for proxy binding?
If the proxy provider supports both, SOCKS5 often offers better compatibility and can handle more protocols; but HTTP is simpler and more universal. The key is to stay consistent with the provider's information. Filling in the wrong protocol may lead to connectivity without effect. It's recommended to test connectivity within the software first, then verify the egress.
Which is better: in-software proxy purchase or self-purchased proxies?
Some tools already offer residential proxy purchase within the client, saving integration costs and suitable for quick start; self-purchased proxies facilitate unified management and cross-tool reuse. If the team already has supplier resources, self-purchase offers more flexibility; otherwise, in-software purchase is more convenient. Neither guarantees environment self-consistency, so verification is still needed.
Can multiple environments share a single proxy IP?
Yes, but it's not recommended. Sharing leads to identical egress addresses across environments, making it impossible to identify the specific environment in case of anomalies, increasing troubleshooting costs. It's recommended to use independent static proxies for each environment, especially in multi-account operations. If resources are limited, at least avoid sharing the same IP for accounts with strong associations.
After binding a proxy, how do I confirm which egress this environment uses?
Open an IP lookup page within the environment, record the egress address, ASN, and region, and compare with the proxy provider panel. Also check request headers like Client Hints for consistency with the device model. Binding is successful only if the address matches and parameters are self-consistent.
After switching to a new proxy, what other parameters need adjustment?
Besides updating the IP and port, check whether timezone, language, Client Hints, and other device declarations align with the new egress region. Also ensure protocol and authentication info are correct. If the core version has changed, review environment parameters to keep up and avoid inconsistencies.


Comments(0)