 NexBrowser指纹浏览器-官方博客Blog
In multi-account operations, cross-border e-commerce matrix management, and large-scale data collection, relying solely on manual clicking can no longer keep up with business growth. Integrating scripts or AI frameworks with fingerprint browser APIs has become standard for technical and operations teams.
However, many developers and studios experience similar frustrations when selecting tools: they see a comparison review and think a certain browser's window unit price is cheap, but after spending a week writing test code and preparing to run the pipeline, they discover that the free tier doesn't open API permissions at all, or they must upgrade to a high-tier enterprise plan to unlock the interface. Worse, when the script just launches a dozen concurrent instances locally, the API directly returns 429 Too Many Requests (call frequency limited), or after closing the window, they encounter loss of Cookie and IndexedDB state.
If you have previously learned about the practical workflow of fingerprint browser API from Local API and CDP takeover to MCP direct connection, then before truly committing business code and team budget, we also need to calculate an account from the perspective of technical selection and total cost of ownership (TCO): What hard indicators should be used to evaluate a qualified fingerprint browser API in 2026?
I. Why Do Your Automation Scripts Always Get Stuck at the "Interface Layer"? Deconstructing 3 Hidden Costs
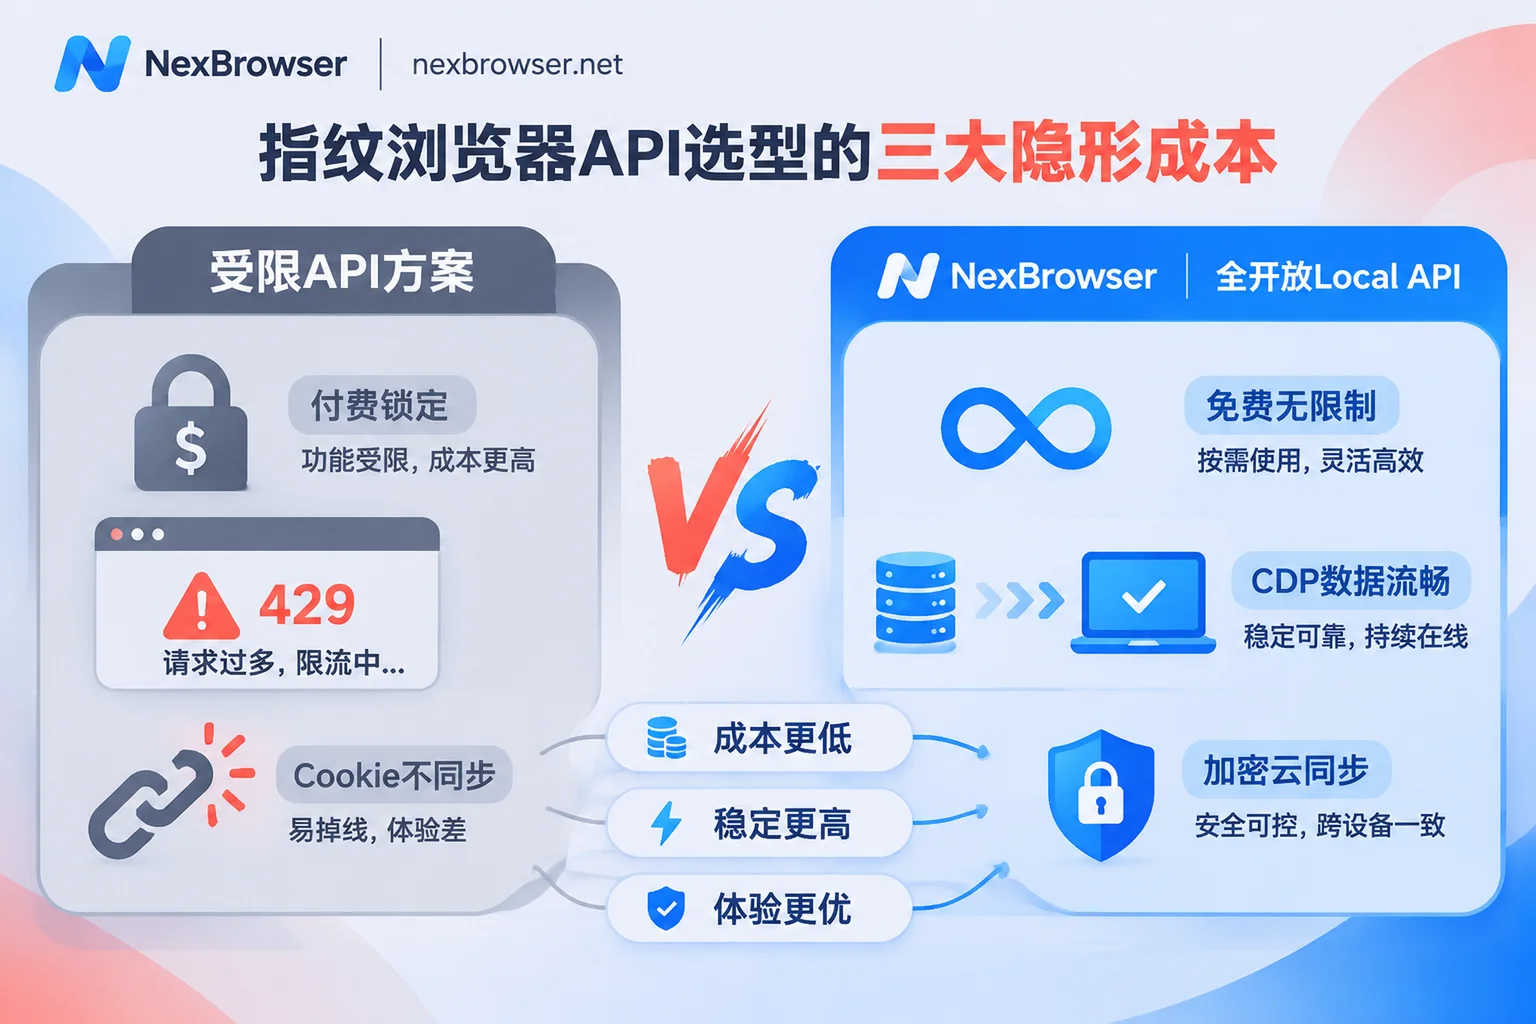
Most anti-detect browsers on the market advertise "API automation support" on their landing pages, but in actual engineering implementation, there are three thresholds between "having an interface" and "being able to stably run in production":
1. Plan-Bundled "Interface Toll" and Call Quotas
According to the public pricing strategies of mainstream fingerprint browsers in 2026, many products adopt a "feature tiering" model—basic plans and free trials directly lock REST API / Local API permissions. Developers who want to write a few lines of code for a proof of concept (PoC) must first pay for a mid-to-high-tier plan. In addition, some tools limit the number of API requests per minute (QPS) or the total daily calls. Once business enters peak periods such as promotion monitoring or batch account creation, scripts will largely error out and hang due to API rate limiting.
2. "State Disconnection" Caused by Insufficient Environmental Control Granularity
Some browser APIs only provide crude endpoints for "open window" and "close window," lacking complete scheduling capabilities for the environment lifecycle. For example, they cannot dynamically bind a proxy when creating or starting an environment, cannot reuse a tuned fingerprint template, or after taking over operations via CDP (Chrome DevTools Protocol), closing the window fails to properly trigger cloud encrypted sync, causing login state to become invalid on the next script start, which triggers secondary verification or even risk control account bans on the target platform.
3. Disconnection Between Traditional Scripts and Next-Generation AI Agent Toolchains
By 2026, team tech stacks are no longer limited to Selenium, Puppeteer, and Playwright. More and more developers are introducing browser-use, Playwright MCP, and MCP (Model Context Protocol)-supporting clients such as Claude Code, Cursor, and Codex to drive web tasks. If a fingerprint browser only provides traditional WebDriver interfaces without standardized CDP information reading and native MCP Server support, the technical team must hand-write a large amount of glue code to maintain the middle layer.
II. 6-Dimensional Hard Standards for 2026 Fingerprint Browser API Selection Evaluation
To avoid being forced to refactor after the project goes live, it is recommended that technical leads and studio administrators verify the following 6 dimensions one by one during the selection testing phase (you can also refer to the official mainstream fingerprint browser comparison center for horizontal reference):
| Evaluation Dimension | High-Risk Pitfall Areas (Not Recommended) | Production-Grade High-Availability Standard (NexBrowser Solution) |
|---|---|---|
| 1. Entry Threshold and Billing | Free tier locks API; requires purchasing high-priced tiers or extra quota based on call volume | Features not tiered, free tier opens full Local API, interface is free and unlimited calls |
| 2. Environment Scheduling Coverage | Only supports open/close windows; fingerprints and proxies still need manual configuration in the UI | Supports creating, opening, and closing environments via API, supports binding proxies and reusing environment templates |
| 3. Automation Framework Compatibility | Only adapts to a single framework or heavily relies on customized drivers, often causing version conflicts | Standard return of CDP connection information, seamless integration with Playwright, Puppeteer, Selenium, and browser-use |
| 4. AI and MCP Ecosystem | No native MCP support; requires self-managed local port forwarding and snapshot parsing | Provides native NexBrowser MCP Server, directly callable by Claude Code, Cursor, Codex |
| 5. Runtime Isolation and Persistence | Cookie cross-contamination or local storage reset during high-frequency script switching | Independent Cookie / IndexedDB / cache; closing environment encrypts and syncs to cloud according to selected scope |
| 6. Exception Handling and Human-Machine Collaboration | Script errors become a black box; operations staff cannot safely take over when manual verification is needed | Proxy pre-check before launch to prevent exposure; supports password-free environment sharing for team members to intervene and troubleshoot |
III. How Does NexBrowser Reconstruct Developers' API Automation Experience?
Addressing the above engineering pain points, NexBrowser directly eliminates cumbersome feature tier restrictions in its architecture design and opens Local API and MCP integration capabilities as a foundational base to all users along with the Windows client.
1. Full Features Open in Free Tier, Zero-Cost PoC and Production Scaling
In NexBrowser, product features are completely untiered. Whether you are an independent developer who just registered for the free tier or a medium-to-large team that purchased more window and member capacity as needed, you can enable OpenAPI with one click in the client and use an access key to call local HTTP interfaces. The interface itself is completely free and has no call frequency limit, completely freeing you from the anxiety of "calculating quotas while writing code" when writing and debugging automation scripts.
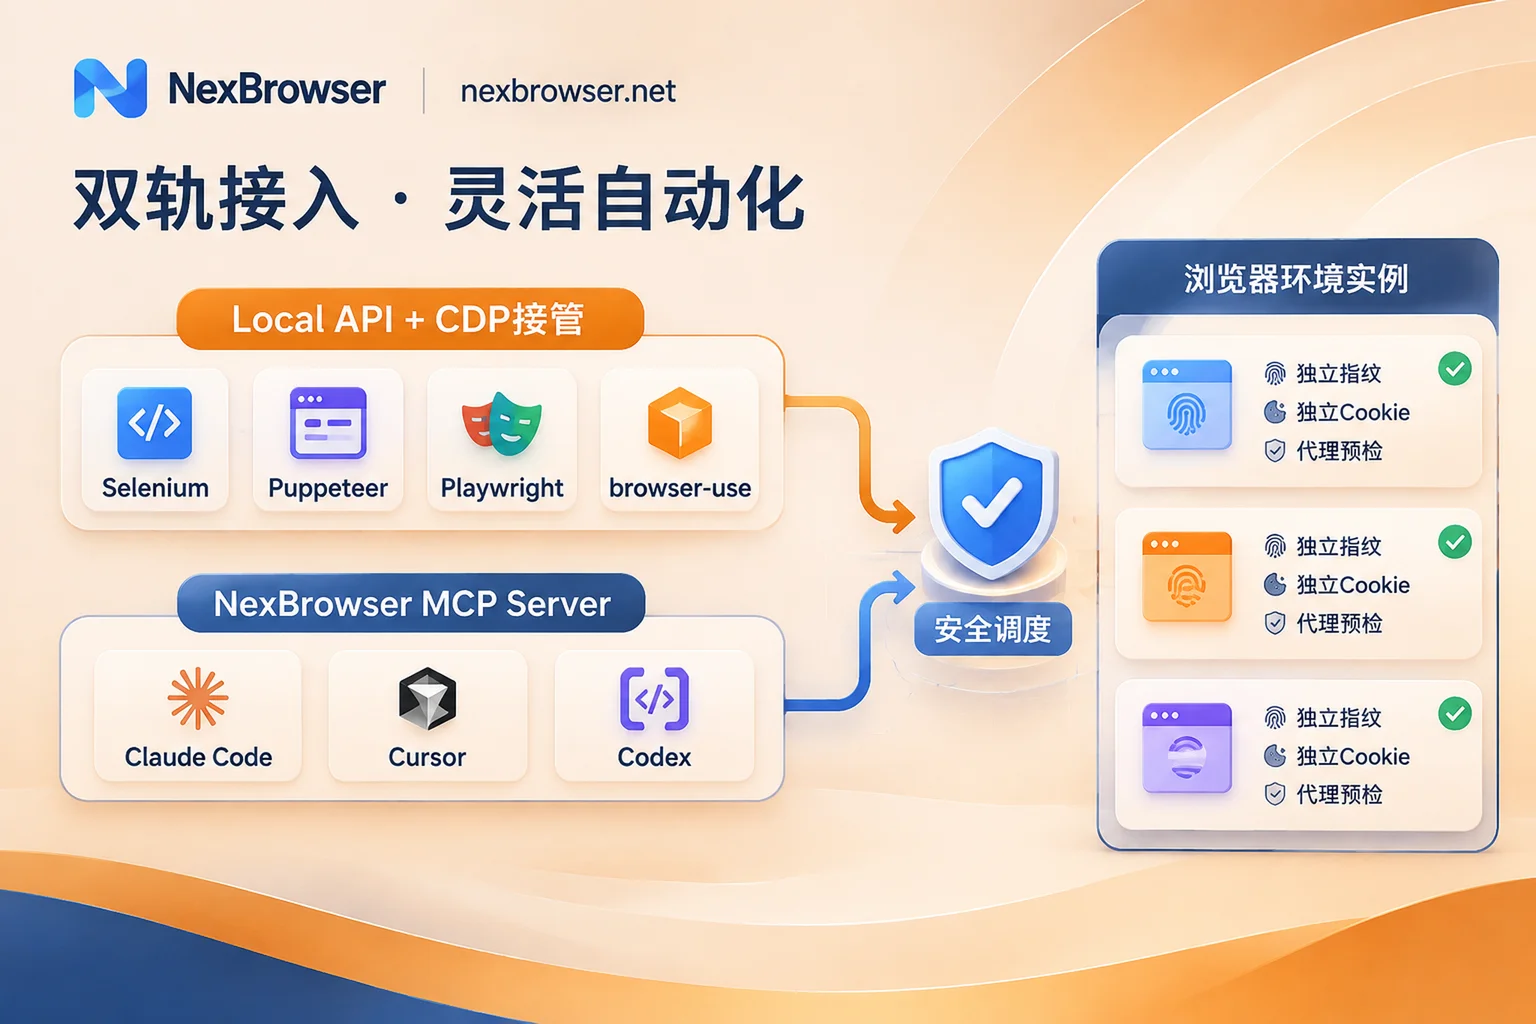
2. Dual-Track Integration: From Standard CDP Takeover to Native MCP Direct Connection
NexBrowser provides two clear automation integration paths for teams with different tech stacks:
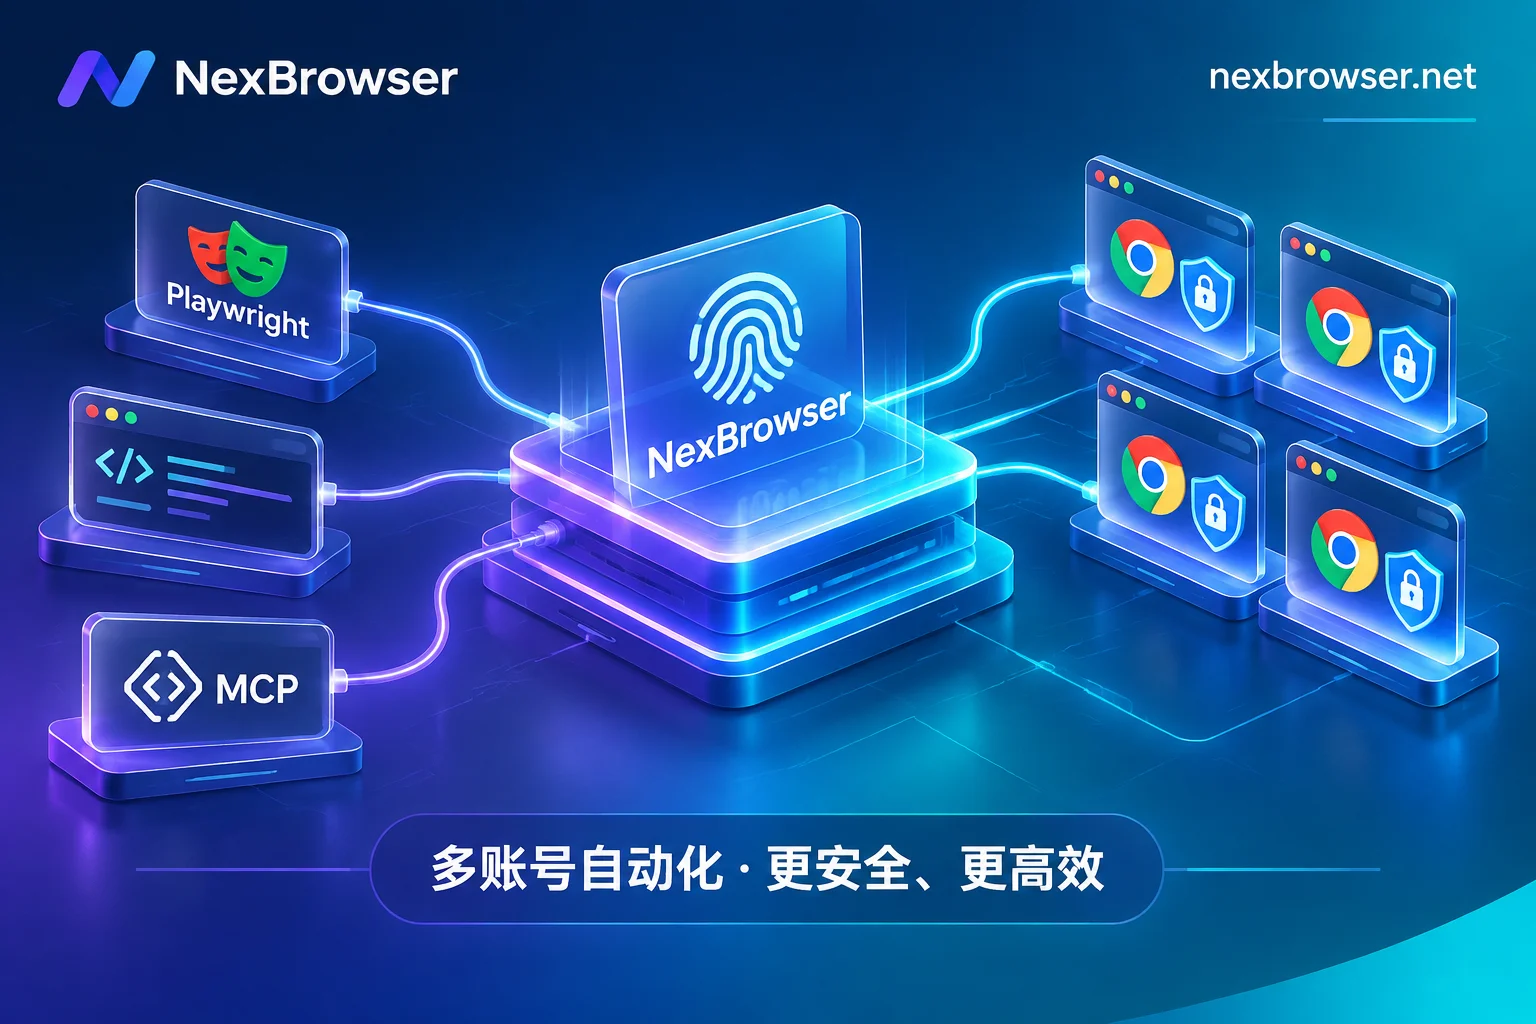
- Traditional Engineering Scripts (Local API + CDP Takeover): Developers can call local HTTP interfaces to complete a full set of actions such as creating environments, opening/closing environments, and binding proxies with code (see OpenAPI documentation for details). After the environment starts, the interface directly returns the CDP connection information for that instance. Your existing Playwright, Puppeteer, Selenium, WebDriver scripts, or popular
browser-use,Playwright MCPframeworks can directly take over this Chrome kernel window that already has independent fingerprints and proxies configured. - AI-Native Workflows (NexBrowser MCP Server): If you are used to driving tasks with natural language in MCP clients such as Claude Code, Codex, or Cursor, you no longer need to write cumbersome HTTP request wrappers. Simply configure and connect to NexBrowser MCP Server, and the AI assistant can directly list and open specified fingerprint environments and precisely operate pages.
3. Hide Anti-Association Details in the Background, Let Scripts Focus on Business Logic
Many times automation scripts trigger platform risk control not because clicking is too fast, but because the underlying environment reveals flaws during automatic scheduling. For how to avoid signal drift in automation, we have deeply analyzed it in How to Avoid "Batch Account Bans" in Fingerprint Browser Automation. At the API scheduling level, NexBrowser safeguards developers through three mechanisms:
- Fingerprint Self-Consistency and Template Cloning: Each environment's Canvas, WebGL, fonts, Audio, screen, hardware, and other fingerprint parameters are self-consistent, and built-in Windows / macOS / Android / iOS parameter templates are updated in the cloud with the Chrome kernel. Developers can first tune a standard environment and save it as a template; when batch copying environments via script, new independent fingerprint parameters are automatically generated.
- Pre-Launch Proxy Pre-Check and Exit Alignment: The biggest fear when scheduling in batches via API is a sudden proxy failure that exposes the real local IP (for detailed troubleshooting methods, refer to Proxy IP Binding Browser and Batch API Scheduling Guide). NexBrowser supports checking the proxy and residential IP exit before environment launch and refuses to start if the check fails; meanwhile, WebRTC, time zone, language, and geolocation automatically align with the proxy exit IP.
- State Persistence and Cross-Machine Restoration: Each environment's Cookie, cache, and local storage (including IndexedDB) are strictly isolated. When the API sends a command to close the environment, data such as Cookie and local storage are encrypted and synced to the cloud according to the selected scope, ensuring state continuity for long-term account nurturing and scheduled tasks.
4. Combined Division of Labor Among API, RPA, and Built-in AI Agent
In actual business, not all requirements are worth assigning a programmer to write a Python or Node.js script to call the API. This is why, when discussing how to reduce automation script maintenance costs, we emphasize multi-tool collaboration:
- High-Concurrency Custom Integration with Local API / MCP: Connect to internal ERP, crawler scheduling queues, or self-developed code libraries.
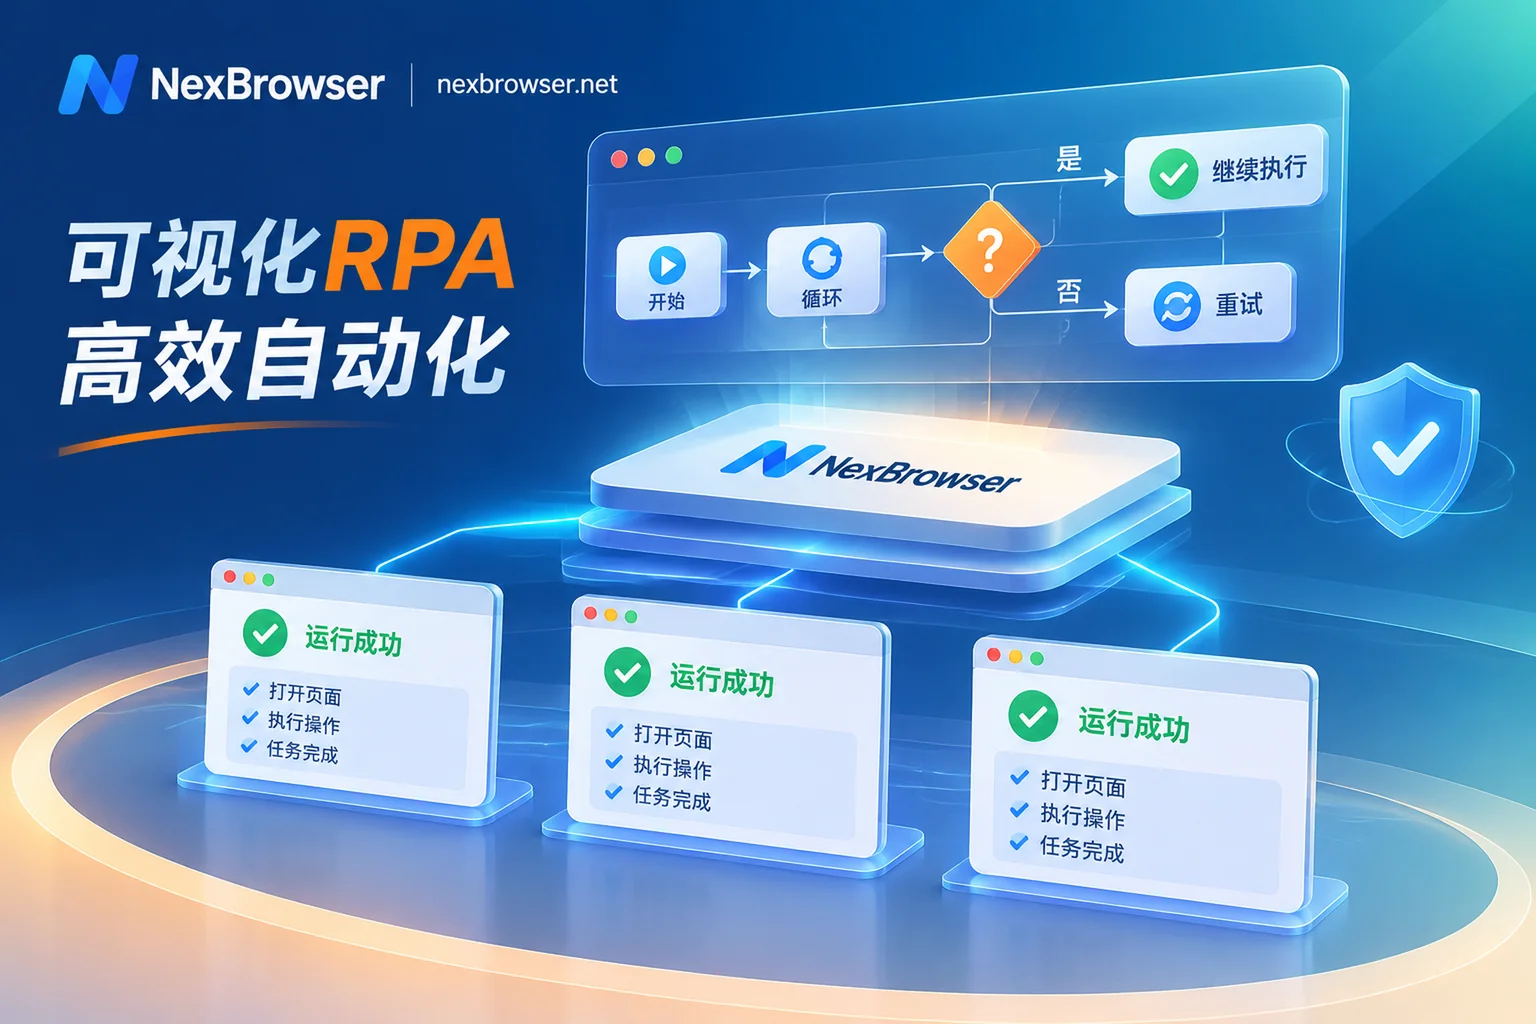
- Fixed Repetitive Daily Processes with RPA Scripts: The client has a built-in no-code canvas (currently Beta) that supports drag-and-drop orchestration of variables, conditional judgments, loops, and failure retries. One set of RPA scripts can be bound to a batch of environments for batch execution, with step-by-step logging.
- Exploratory and Flexible Multi-Window Tasks with Built-in AI: The client comes with Nex Agent, which can automatically fill forms, take screenshots, or split tasks across multiple windows in parallel by simply describing the task in natural language; when temporary batch clicks requiring human judgment arise, you can enable window synchronization at any time.
- Exception Handling and Human Collaboration: When an API script encounters a platform requiring phone binding or secondary SMS verification during execution, you can not only directly call the built-in NexSMS cloud phone number in the environment sidebar to get a number and receive codes, but also rely on the multi-account team collaboration mechanism to share the error environment password-free with operations specialists for troubleshooting—members cannot access account passwords, and the same environment can only be opened by one person at a time, avoiding manual troubleshooting and script execution overwriting each other's data.
IV. 3 Steps to Quickly Validate Your Fingerprint Browser API Workflow
If you are evaluating an automation foundation for a new multi-account project or are trapped by the high API upgrade costs of existing tools, take 10 minutes to perform a practical validation with the following steps:
- Get the Client and Free Quota: Go to the NexBrowser download page to install the Windows 10/11 (64-bit) client and register an account. No credit card required; you can directly enable the full-featured free tier.
- Enable the Interface and Create Test Environments: Create or import a few test environments in the client, configure proxies or associate NexIP residential IPs, then enable OpenAPI in settings and obtain your local access key.
- Run the Takeover Test: According to the OpenAPI documentation, send an environment start request, connect to the returned CDP address with your familiar Playwright / Puppeteer script, or directly configure MCP integration in Cursor / Claude Code, and verify environment isolation, startup speed, and Cookie retention after closing.
Leave valuable R&D energy for core business logic, and hand the dirty work of multi-account environment isolation, fingerprint self-consistency, and interface scheduling to a reliable workbench—build your own automation matrix foundation with NexBrowser now.