 NexBrowser指纹浏览器-官方博客Blog
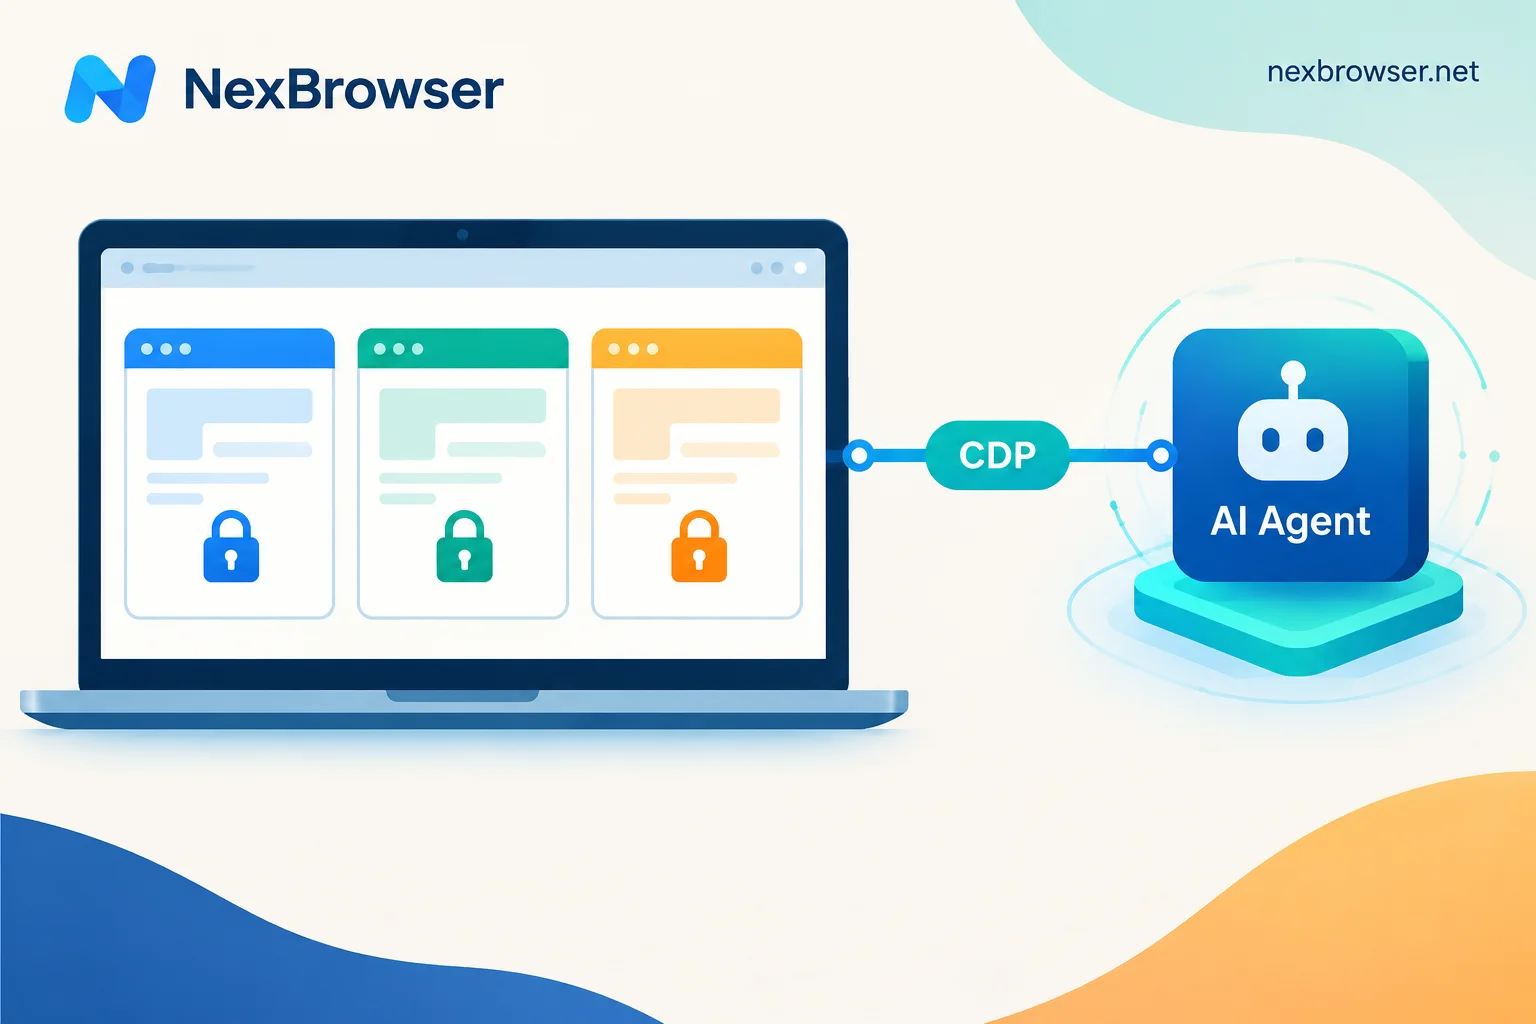
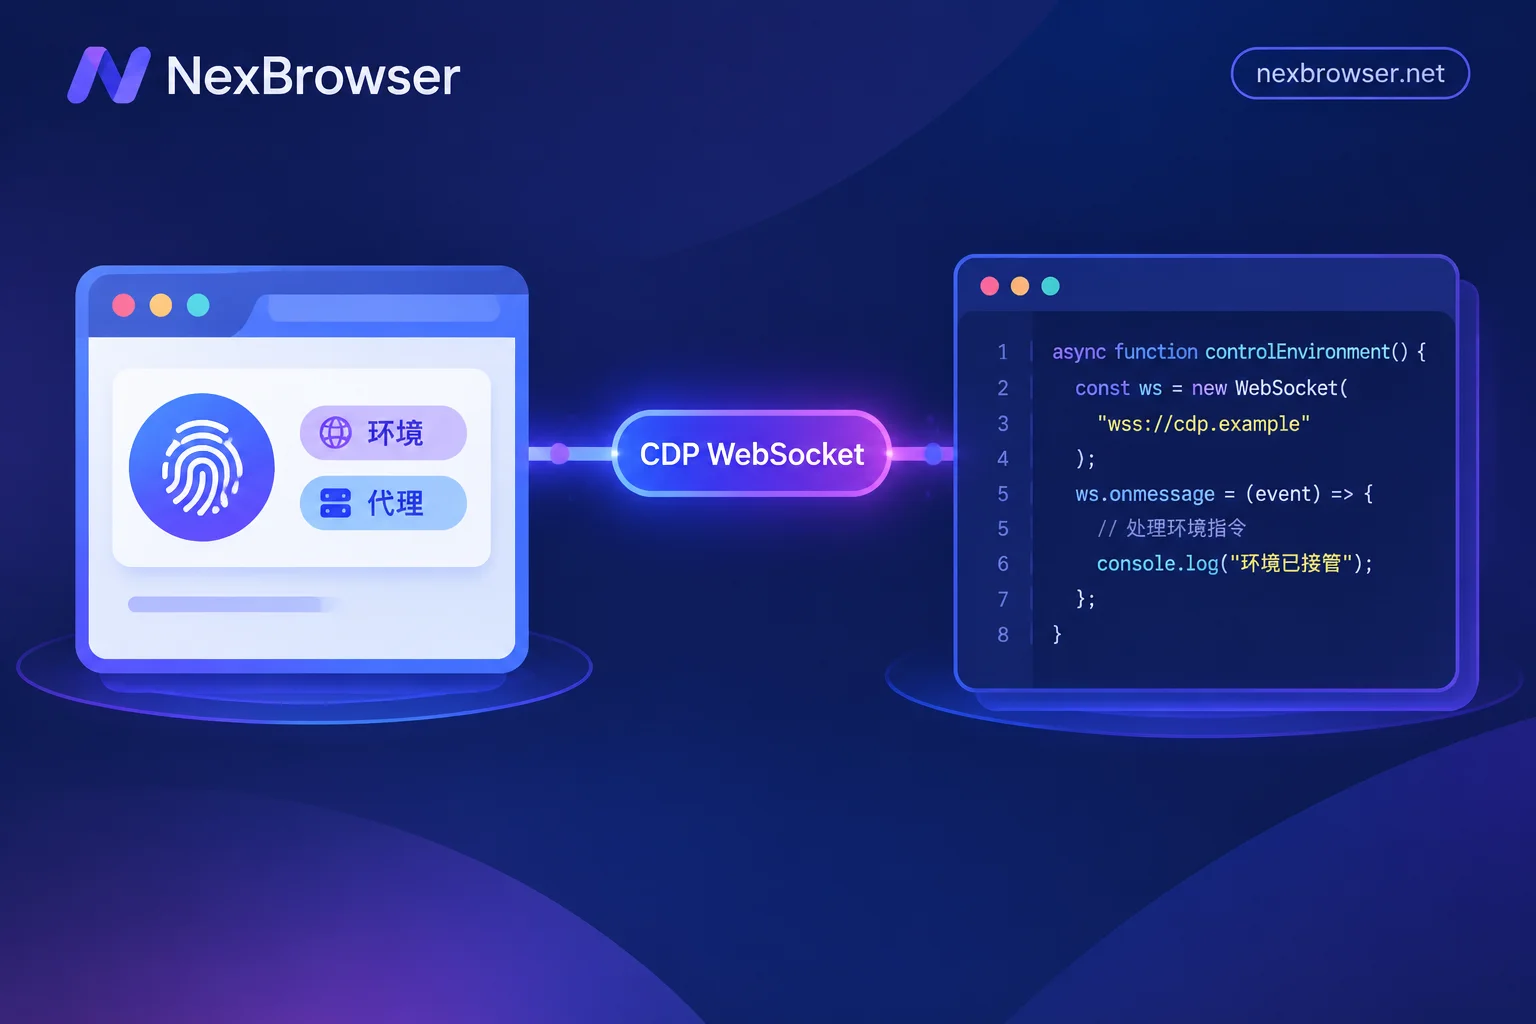
To make an AI agent work inside a browser with fingerprint protection, isolated cookies, and a dedicated proxy exit, there is only one correct way: have the agent connect to an already-launched window instead of launching a new Chromium itself. The connection protocol is CDP (Chrome DevTools Protocol), and both browser-use and Playwright MCP natively support it.
The whole process breaks down into three steps:
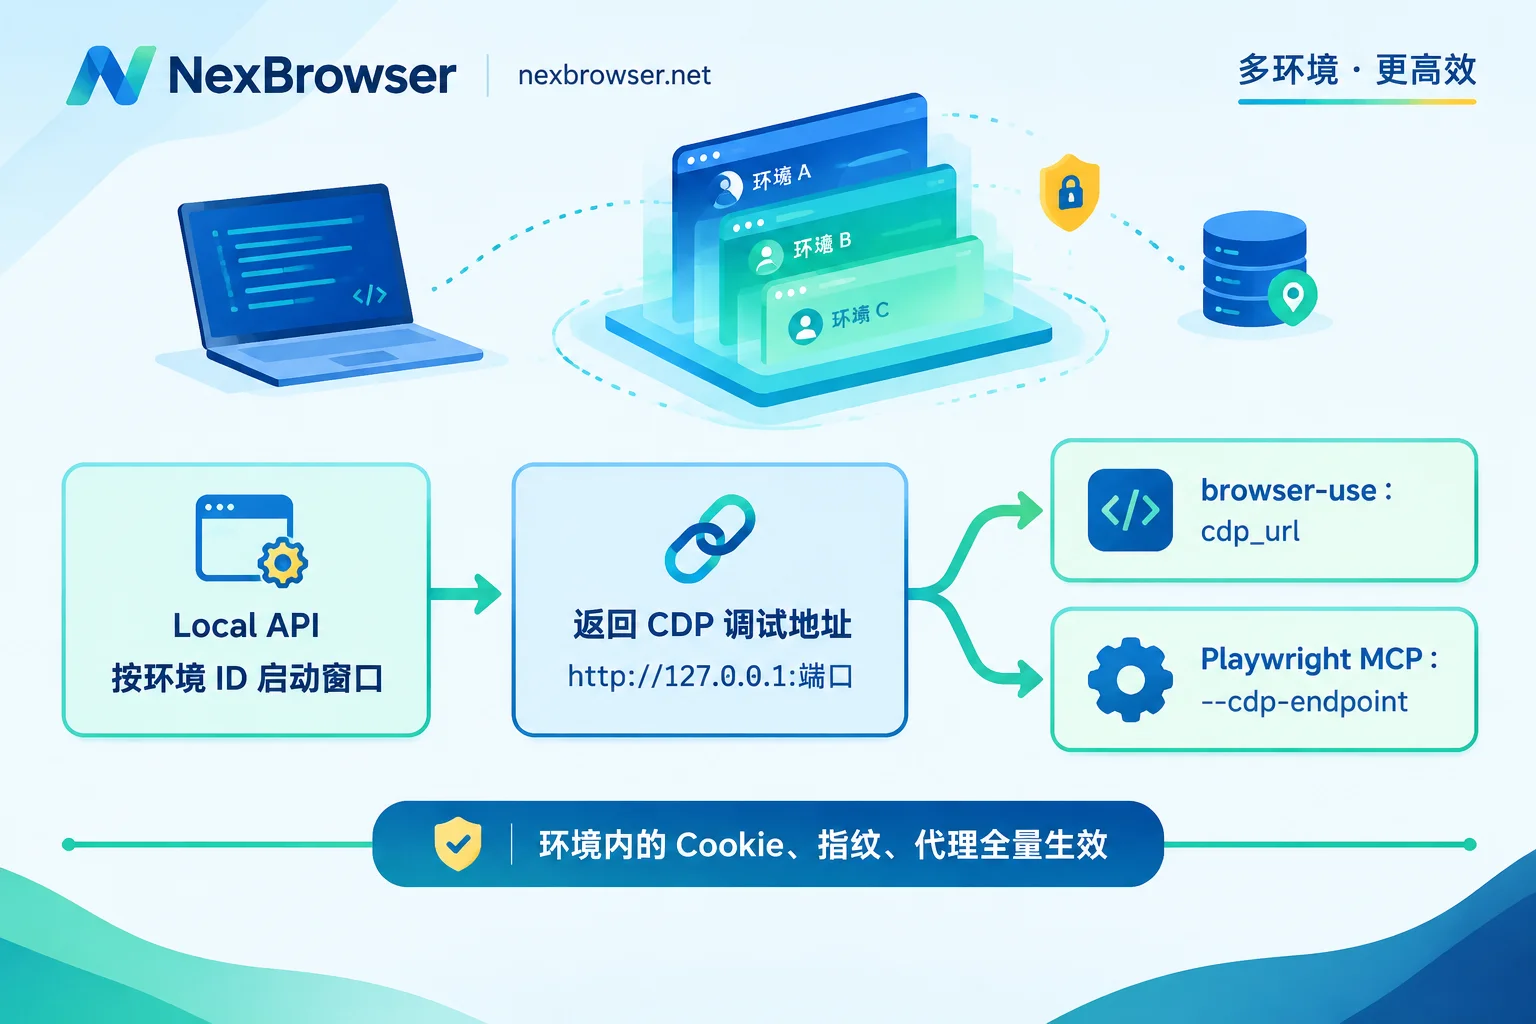
- Use the antidetect browser's Local API to launch a window by environment ID and obtain that window's unique CDP debugging address.
- Fill that address into browser-use's
cdp_url, or into Playwright MCP's--cdp-endpoint. - Have the agent first visit a detection page to confirm that the exit IP and fingerprint parameters truly belong to this environment.
Below, we'll go through these steps in order and point out common pitfalls.
Why it must be "connect" rather than "launch"
If you use the default behavior of browser-use or Playwright MCP, they will download and launch a clean Chromium instance. That instance doesn't have your configured fingerprint parameters, the environment's cookies and local storage, or the proxy bound to the environment; it uses your local machine's exit. The results will be completely different from manually opening a window in the client.
An antidetect browser works by: each environment corresponds to a separate set of storage, a coherent set of fingerprint parameters, and an independent proxy chain, all hosted by the underlying browser process of the window. Once an external automation tool connects to the CDP endpoint, all page operations go through that process, and the environment configuration naturally takes full effect without needing to rewrite UA, timezone, or proxy in the script.
So there's a simple criterion to tell if the connection is correct: if parameters like launch, executablePath, proxy appear in your script, you're likely doing it wrong; you should see connect, cdp_url, --cdp-endpoint instead.
Step 1: Launch the environment and get the CDP address
The Local API is an HTTP service provided by the antidetect browser on your machine. You enable it in the client, then call the "launch window" endpoint with the environment ID you want to open. The endpoint returns the debugging endpoint specific to that window. The return format is usually one of two:
- HTTP form:
http://127.0.0.1:<端口> - WebSocket form:
ws://127.0.0.1:<端口>/devtools/browser/<GUID>
Both work. The HTTP form is more convenient because many tools will fetch the WebSocket address from /json/version themselves. The WebSocket form is more direct, but the GUID changes on every launch, so it cannot be hardcoded.
In NexBrowser, the Local API is fully available on the free tier with unlimited calls. The launch endpoint returns the debug port for that window, and the residential IP or custom proxy already bound to the environment, along with isolated storage, will fully apply to every subsequent agent action. For endpoint paths and response fields, refer to the client's API documentation; for feature details, see Local API. We've also written a more detailed breakdown on "how one request gets you a controllable port": How Local API launches an environment and gets the debug port.
One fact to remember that affects your script writing: the port is assigned on each launch, not fixed. Don't hardcode the port in a config file. The correct approach is to call the launch endpoint at the start of each task, then pass the returned value onward.
Step 2A: How to connect browser-use
browser-use supports a cdp_url parameter when instantiating a Browser. When provided, it won't create a new instance but will reuse the target browser's current context and pages.
from browser_use import Agent, Browser

# cdp_endpoint 来自上一步 Local API 的返回值,不要写死
cdp_endpoint = "http://127.0.0.1:54321"

browser = Browser(cdp_url=cdp_endpoint)

agent = Agent(
    task="打开后台的订单页,把今天的待发货数量读出来",
    llm=llm,          # 你自己配置的模型
    browser=browser,
)

await agent.run()
A few practical points:
- Use the full URL with the protocol header. Just
127.0.0.1:54321will likely fail to connect. - The parameter name and object structure in browser-use have changed across versions. If your version reports "unknown parameter," check the remote browser connection docs for that specific version to see the current naming—the mechanism stays the same, but names may change.
- The agent takes over the currently open context. If you're already logged into an account in the environment, the agent will be logged in immediately; you don't need to teach it to log in via prompt—that's a key benefit of using an antidetect browser to manage sessions.
- After the task, close the window via the Local API's close endpoint rather than killing the process directly, so cookies and local storage can be saved properly.
Step 2B: How to connect Playwright MCP
Playwright MCP (@playwright/mcp) is aimed at MCP clients like Claude Desktop and Cursor, with configuration written in the client's JSON. There are two ways to connect to an external Chromium.
Command-line argument:
{
  "mcpServers": {
    "playwright": {
      "command": "npx",
      "args": [
        "@playwright/mcp@latest",
        "--cdp-endpoint=http://127.0.0.1:54321"
      ]
    }
  }
}
Or use the environment variable PLAYWRIGHT_MCP_CDP_ENDPOINT with the same debug address. Both work identically; the advantage of the environment variable is that you can dynamically inject the port from an outer script without editing JSON each time.
Once connected, MCP will perform accessibility snapshot parsing and action execution within that window. The model sees the page structure in the real environment, and clicks and inputs also occur within that environment.
One ordering issue that's easy to overlook: the MCP service usually starts with the client, but the antidetect browser window is opened separately by you or a script. If the target port isn't listening when MCP starts, the first call will fail. The safe approach is to start the environment window first, then start or reload the MCP client; or reconnect within the MCP client before sending commands.
Also, a current limitation to know: the command-line --cdp-endpoint is a global single-instance configuration—one MCP service instance corresponds to one endpoint. If you want a single conversation to control multiple environment windows, you need multiple MCP service instances with different endpoints, or wrap your own routing layer. The official CLI itself does not handle multi-window scheduling.
Step 3: How to confirm it's really connected
Connected doesn't mean effective. Just because the agent can click and type doesn't mean it's on the chain you think. For the first task, it's advisable to always add two verification actions:
1. Verify the exit. Have the agent open an IP lookup page, read the IP and location, and compare with the proxy bound to the environment. If it reads your home IP, it didn't connect to the environment window at all and instead launched a new instance—go back and check whether cdp_url / --cdp-endpoint are actually being read.
2. Verify consistency. Even if the exit matches, check whether the timezone, language, and IP location are consistent. We've written a dedicated guide on the verification order: How to confirm exit location and timezone/language consistency after binding a proxy. If the proxy itself can't connect, first handle it according to How to troubleshoot when one-click detection fails after proxy import rather than bypassing at the agent level.
These two steps take less than a minute but can save a lot of troubleshooting time later when wondering why results differ from manual operations. It's recommended to make them the first instruction of every task, or write them as pre-assertions in your script, aborting if detection fails.
Three common pitfalls
Port drift causes the script to fail the next day. The cause is a hardcoded port. Make "call launch endpoint → get returned port → pass to agent" a function and call it at the start of each task.
Agent and browser on different machines. The Chromium CDP debug port only listens on 127.0.0.1 by default. If your agent runs on a server and the browser on an office Windows machine, filling in the internal IP directly won't work. You need to forward the port via SSH tunnel or reverse proxy to the agent's machine, then still use 127.0.0.1:<本地映射端口>. Also note: exposing this port publicly gives away complete control of the browser—only forward within controlled networks.
Want to run multiple environments simultaneously. For browser-use, it's easy: create multiple Browser objects, each with a different cdp_url, with concurrency limited by local resources. For Playwright MCP, due to the single-instance limitation mentioned above, you need multiple service instances. If your actual need is "multiple accounts performing the same repetitive actions," using an agent might be overkill; no-code RPA or window synchronization is more direct. You can first read How to build a no-code RPA workflow in an antidetect browser before deciding whether to code.
Relationship with native Puppeteer / Playwright connections
It's the same underlying thing. browser-use and Playwright MCP just add a model-driven layer on top of CDP; the connection method is identical to Puppeteer's connect({ browserWSEndpoint }) or Playwright's connectOverCDP(). So if you've already connected to an environment with native frameworks, switching to an agent just means filling the same address with a different parameter name. Conversely, if the agent can't connect, using a native framework to connect once is the fastest way to diagnose—if it connects, the problem is in the agent-side config; if not, it's in the port or service. For this part, refer to Puppeteer / Playwright taking over an antidetect browser environment.
One prerequisite before starting
Agent takeover only solves "who operates," not "with what identity." If environment isolation and proxy binding aren't solid, the agent will only amplify problems—it clicks faster and errs faster. So the order is always: verify environment and proxy first, then let the agent take over; any configuration only reduces the probability of unintentional association and does not guarantee undetectability by platforms. It also only applies to accounts you have the right to access.
If you're ready to start, the Local API endpoint documentation and the scope of AI agent takeover are here. The client is currently available for Windows; you can directly download and enable the Local API service in settings, then use a test environment to walk through the three steps above.


Comments(0)